Week 12, Assignment 12
Molding and Casting
Video - Week Twelve, Lecture Twelve
Goal
This week's assignment is to design a 3D Mold, Machine it, and Cast parts from it and understand different properties of Mold and its Materials, plus how its useful for making the different things out of it.
Introduction
Molding and Casting are two different processes involved in making many of the real world manufacturing process. Molding is the process of manufacturing by shaping liquid or pliable raw material using a rigid frame called a mold. So basically, molding is a hollow solid structure into which a Liquid, which gets harden and poured to form the mold shape. Casting is a manufacturing process in which a liquid material is poured into a mold. Molding and Casting processes are widely used for making materials in plastic, ceramic, glass, metal, etc.
Materials used for Molding and Casting:
I decided to make a metal Keychain of a car logo "Dzire", which I have to gift a friend. So for that in a sequential process I will be using Machine-able Wax, Silicon Rubber, and I am thinking of using Soldering Wire as my metal for pouring. A brief description about all the material is given below:
Machine-able Wax:
Machinable wax is an extremely hard wax that has been formulated to deliver exceptional machining properties including high resolution detail. Since it is harder and has a higher melting temperature than most other waxes, machinable wax can be machined, cut, or shaped using standard metalworking or woodworking equipment. Machinable wax is ideal for verifying CNC machining programs. Machinable wax is often used for precision lost wax casting.
Machinable wax can be recycled
The shavings and unused pieces of material can be re-melted and formed back into useable material. This attribute can substantially reduce the cost of using machinable wax over other materials.
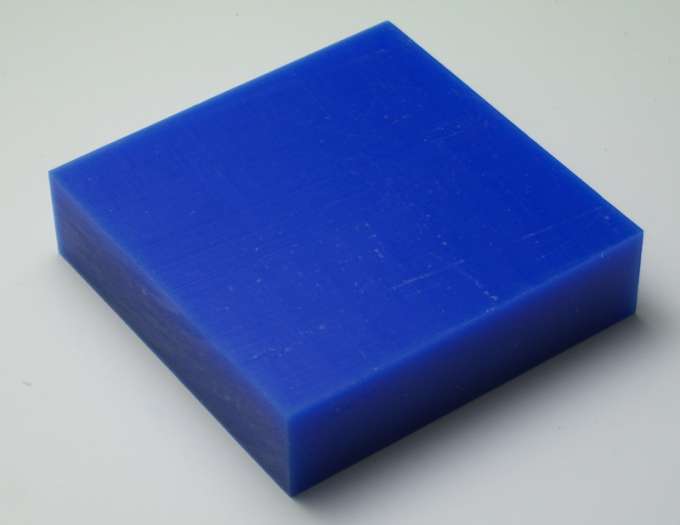
The Machineable Wax which I used is BLUE Machineable Wax, which properties and specifications are mentioned below:
• Hardness: 53 (Shore "D" Scale)
• Penetration @77 deg. F, 150g (dmm) = 13.0
• Specific Gravity: 0.92
• Specific Density: 0.03472 pounds / cubic inch or, 0.9137 grams / cubic cm
• Flash Point (COC): 575 degrees F
• Melt Point (Ring & Ball Method): 240 degrees F (116C)
• Viscosity 270 degrees F = 1790cP
• Volumetric Shrinkage (for recycling, from melting point to room temp): 5% typical
• Ash content for lost wax casting applications is low (.0066%)
• Flexural Modulus 8.84 Average
• Coefficient of Thermal Expansion (in./in. ºF): 9.5 x 10⁻⁵
• Coloring: blue dye, permanent, oil base
Silicon Rubber:
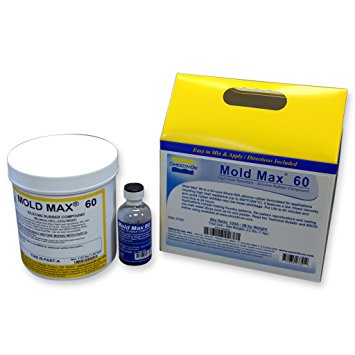
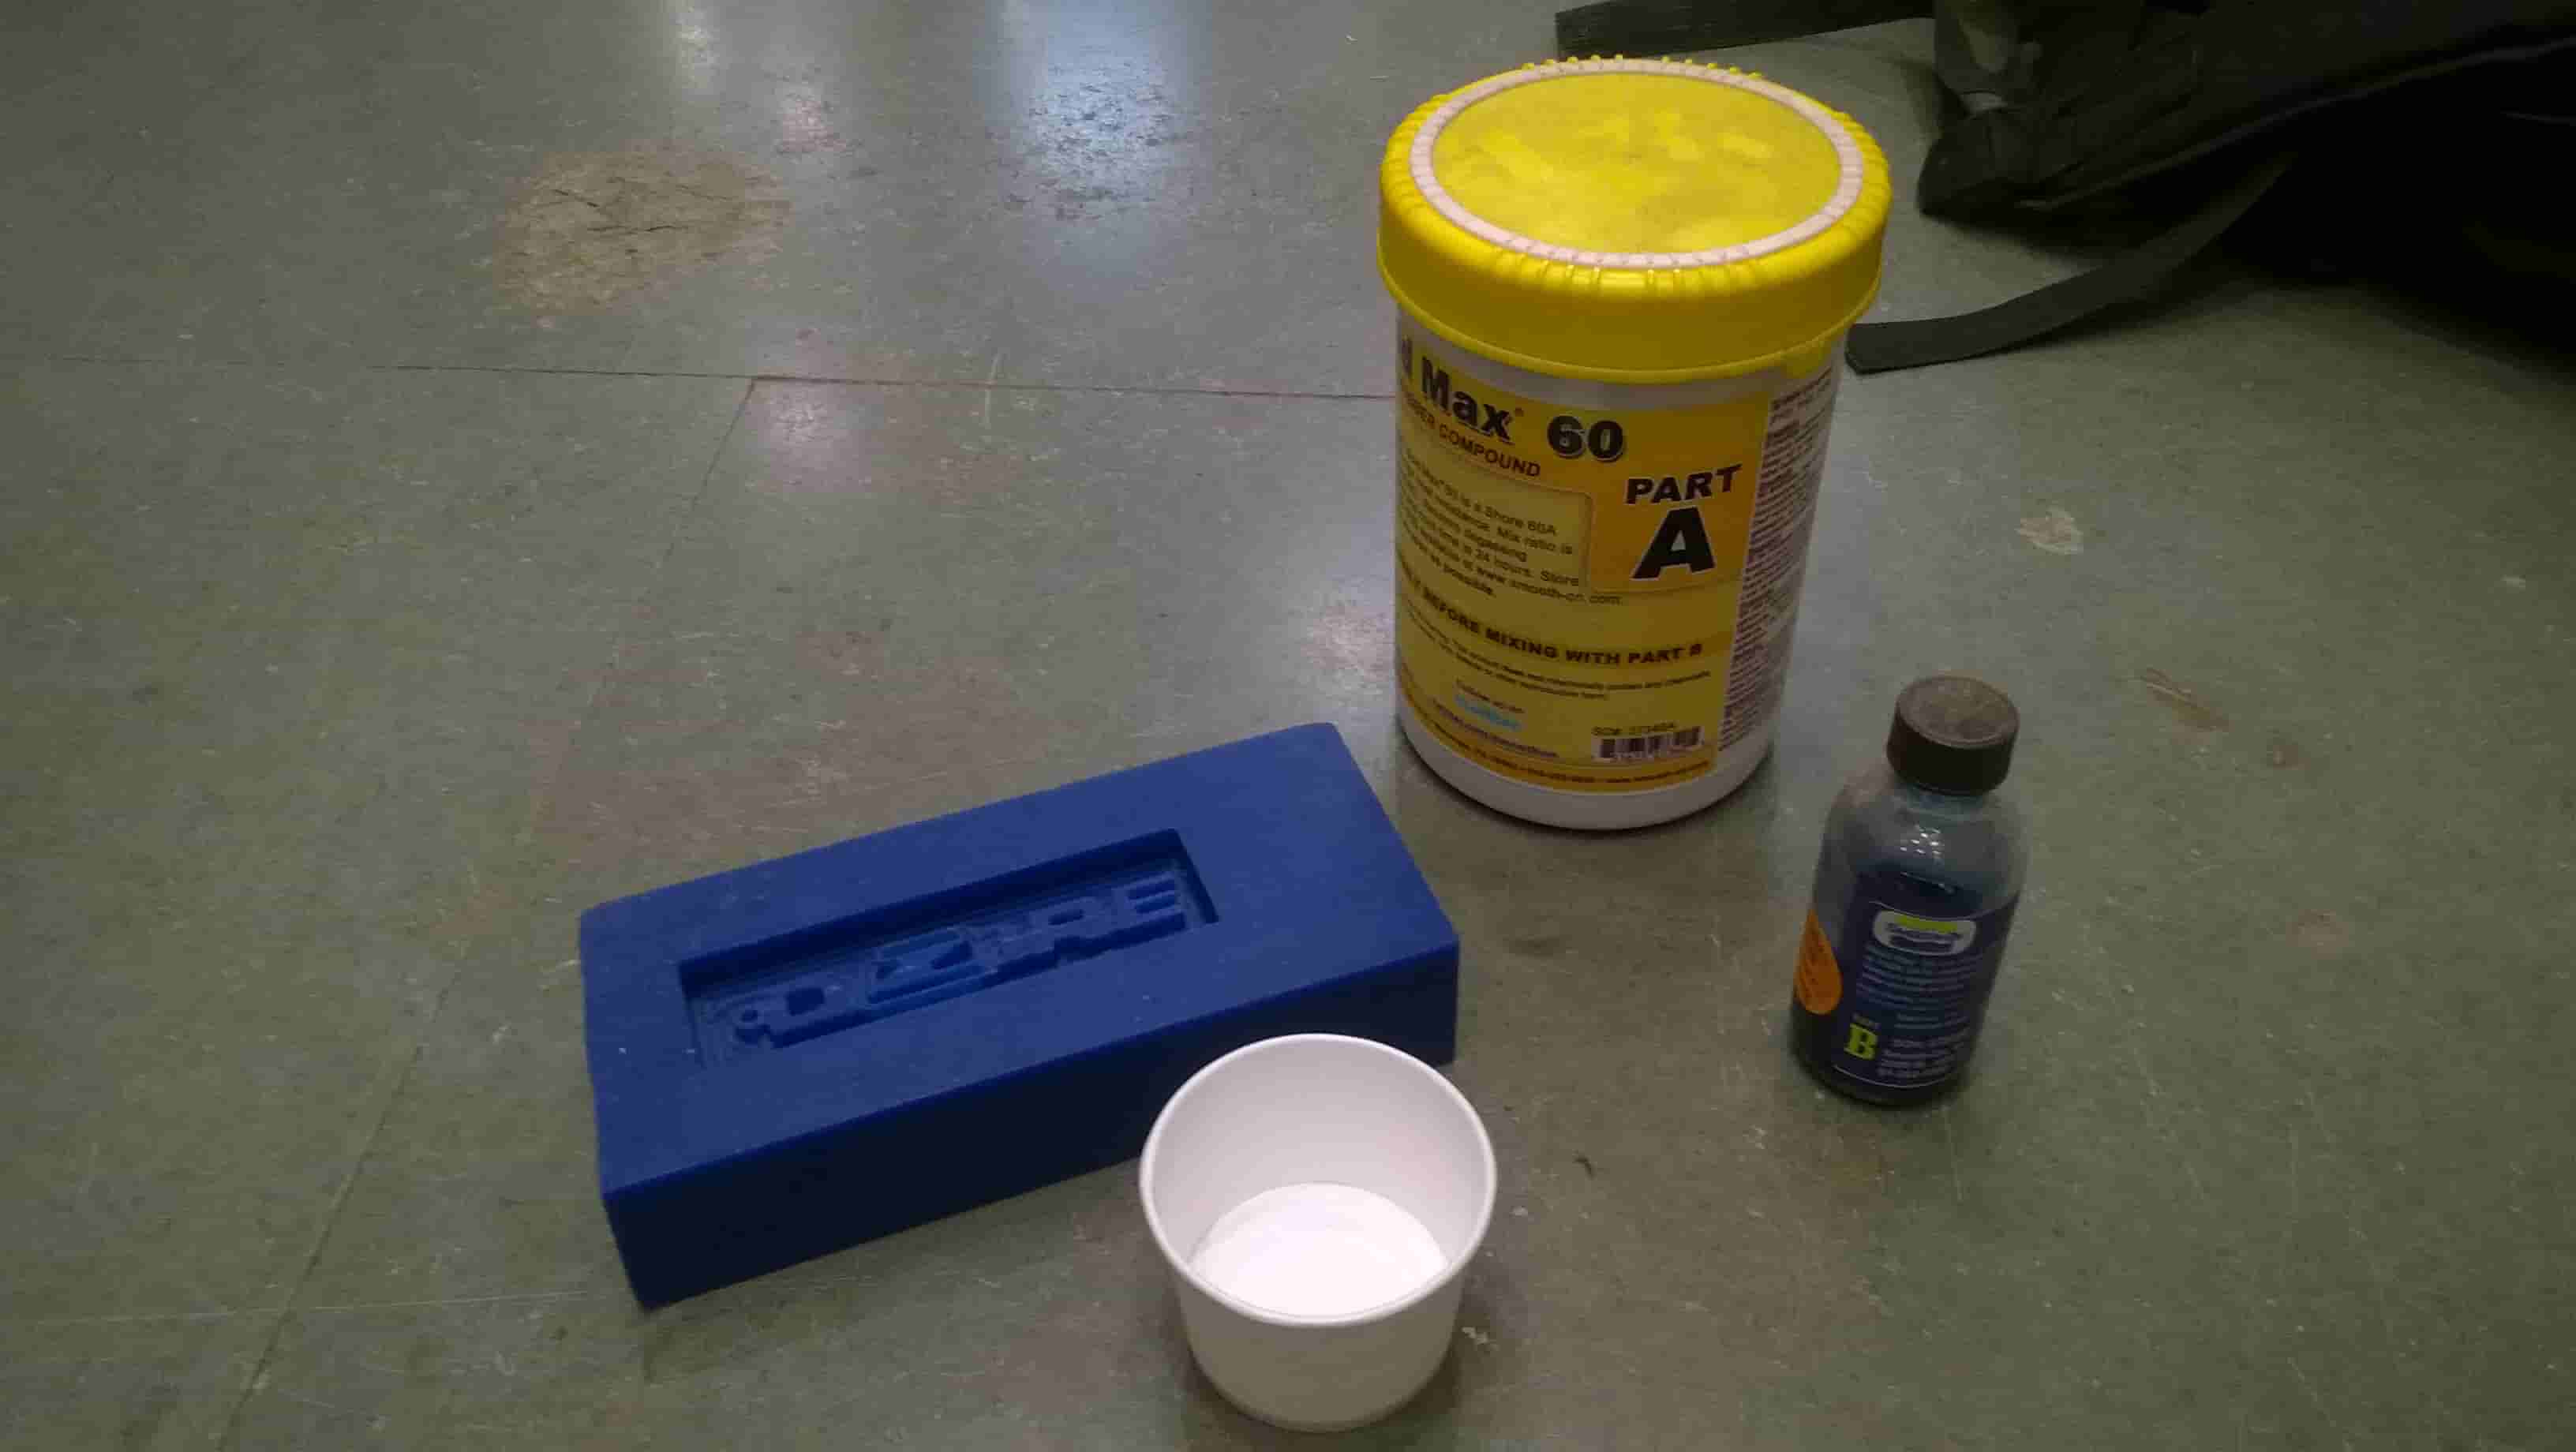
As I will be casting Metal so I would be need a Silicon Rubber which can sustain higher temperature of the melted metal, so I used Mold Max 60 which is used for High-Heat Resistance applications and can withstand temperature upto 560°F or 294°C. It features a low mixed viscosity and cured rubber exhibits very low linear shrinkage. It comes in two different parts, where Part A is the Silicon Rubber Compound and Part B is the Binding Agent for the silicon. While using the Silicon Rubber I have to Mix Parts A & B in a ratio of 100A:3B by weight. The Pot life is 40 minutes and the rubber takes 24 hours to cure. Applications include making foundry patterns, flat pattern reproductions and casting low-temperature melt metal alloys such as tin and pewter.
Solder Wire:
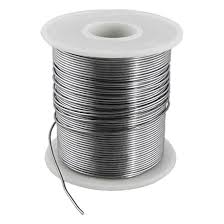
Solder is a fusible metal alloy used to create a permanent bond between metal and workpieces. Solder alloy is also resistance to oxidation or corrosion effect. Solder is mostly used in making electric connections between electronic components. Soft solder usually have melting point range from 90 to 450 °C (190 to 840 °F; 360 to 720 K). Alloys that melt between 180 and 190 °C (360 and 370 °F; 450 and 460 K) are the most commonly used. Soldering performed using alloys with a melting point above 450 °C (840 °F; 720 K) is called 'hard soldering', 'silver soldering', or brazing.
So basically the Solder Material which I am going to use is Lead Solder, which is a alloy of Tin and Lead (Sn-Pb) also known as Soft Solder, are easily available with tin concentration between 5 to 70% by weight. The greater is Tin concentration, the greater is the solder’s tensile and shear strength. The alloy commonly used for Soldering purpose are 60/40 Sn-Pb, which melts at 188 °C (370 °F).
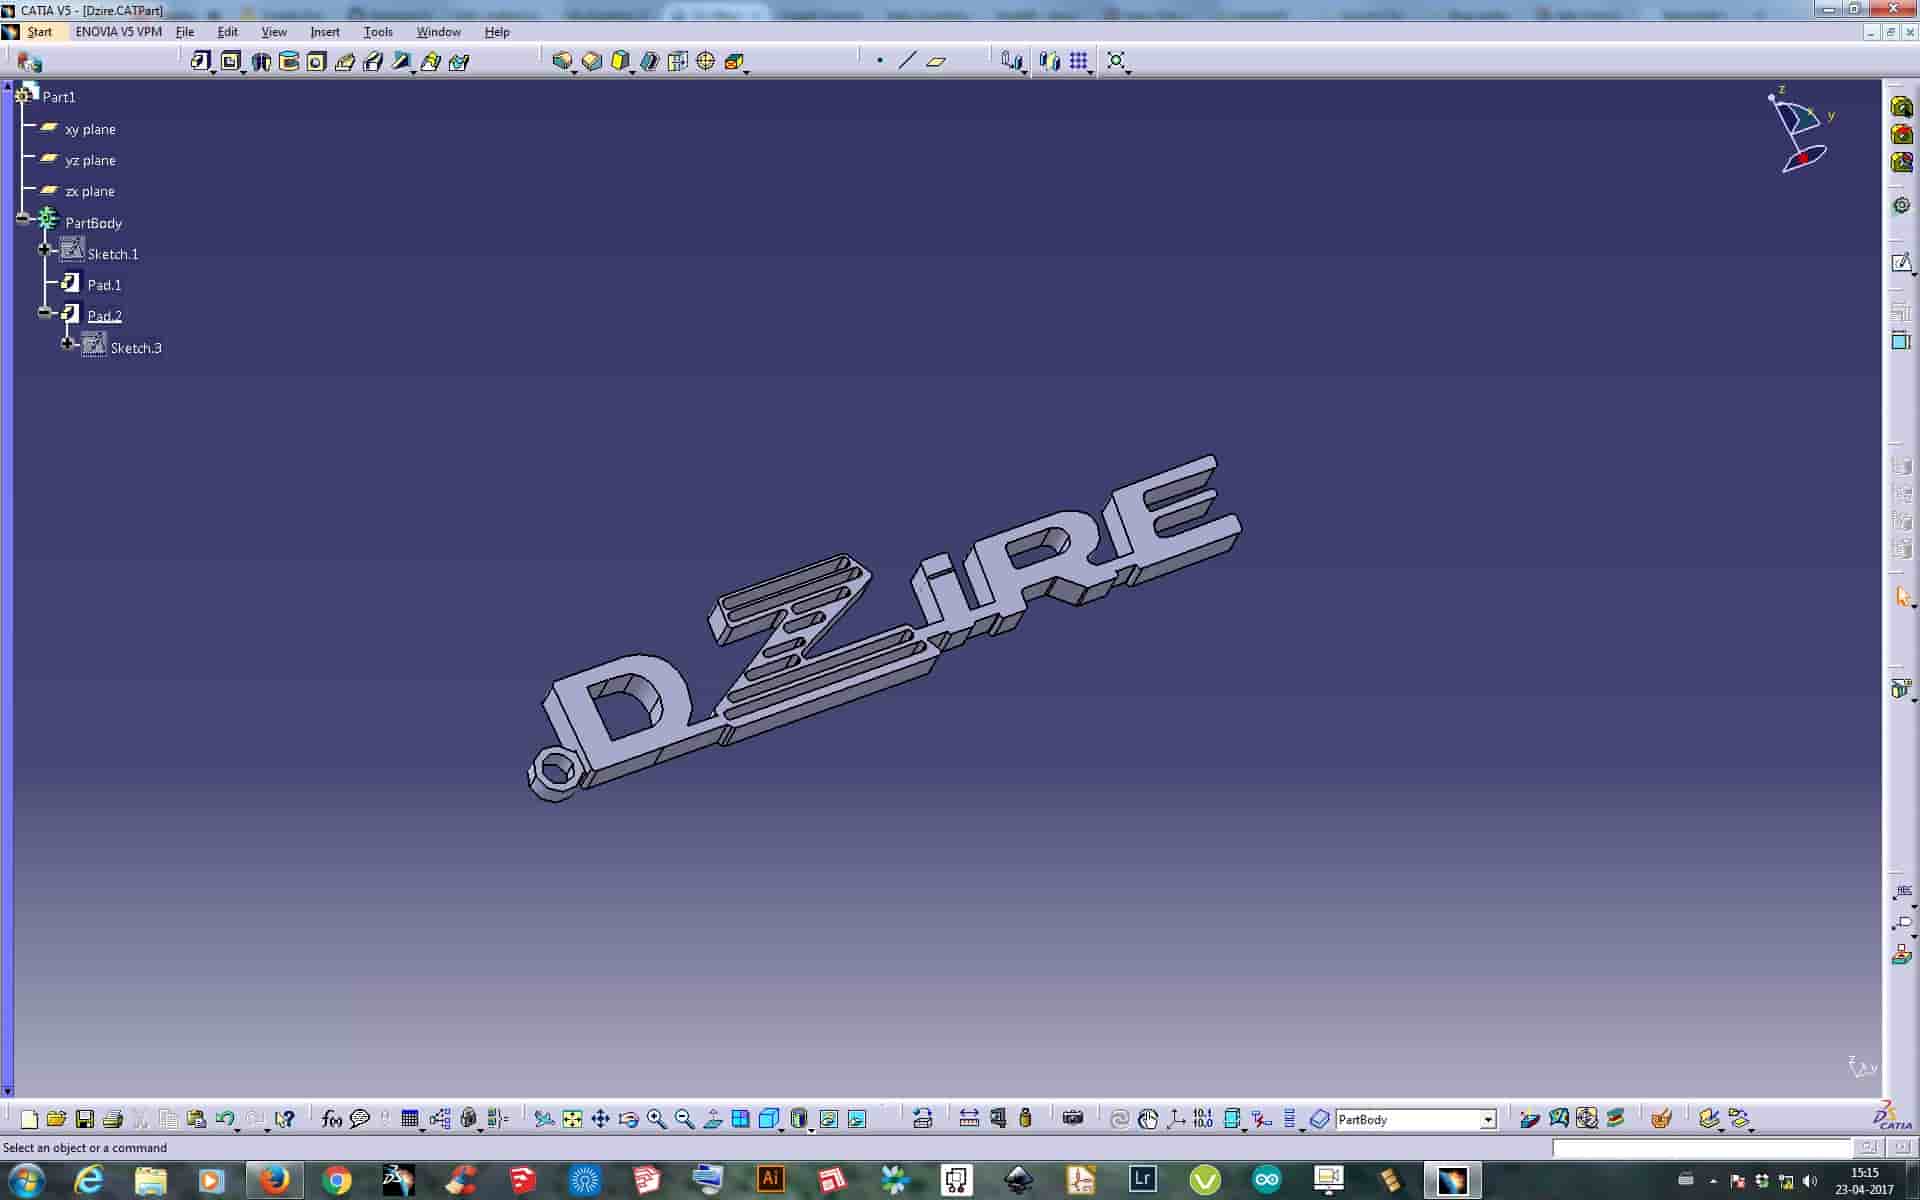
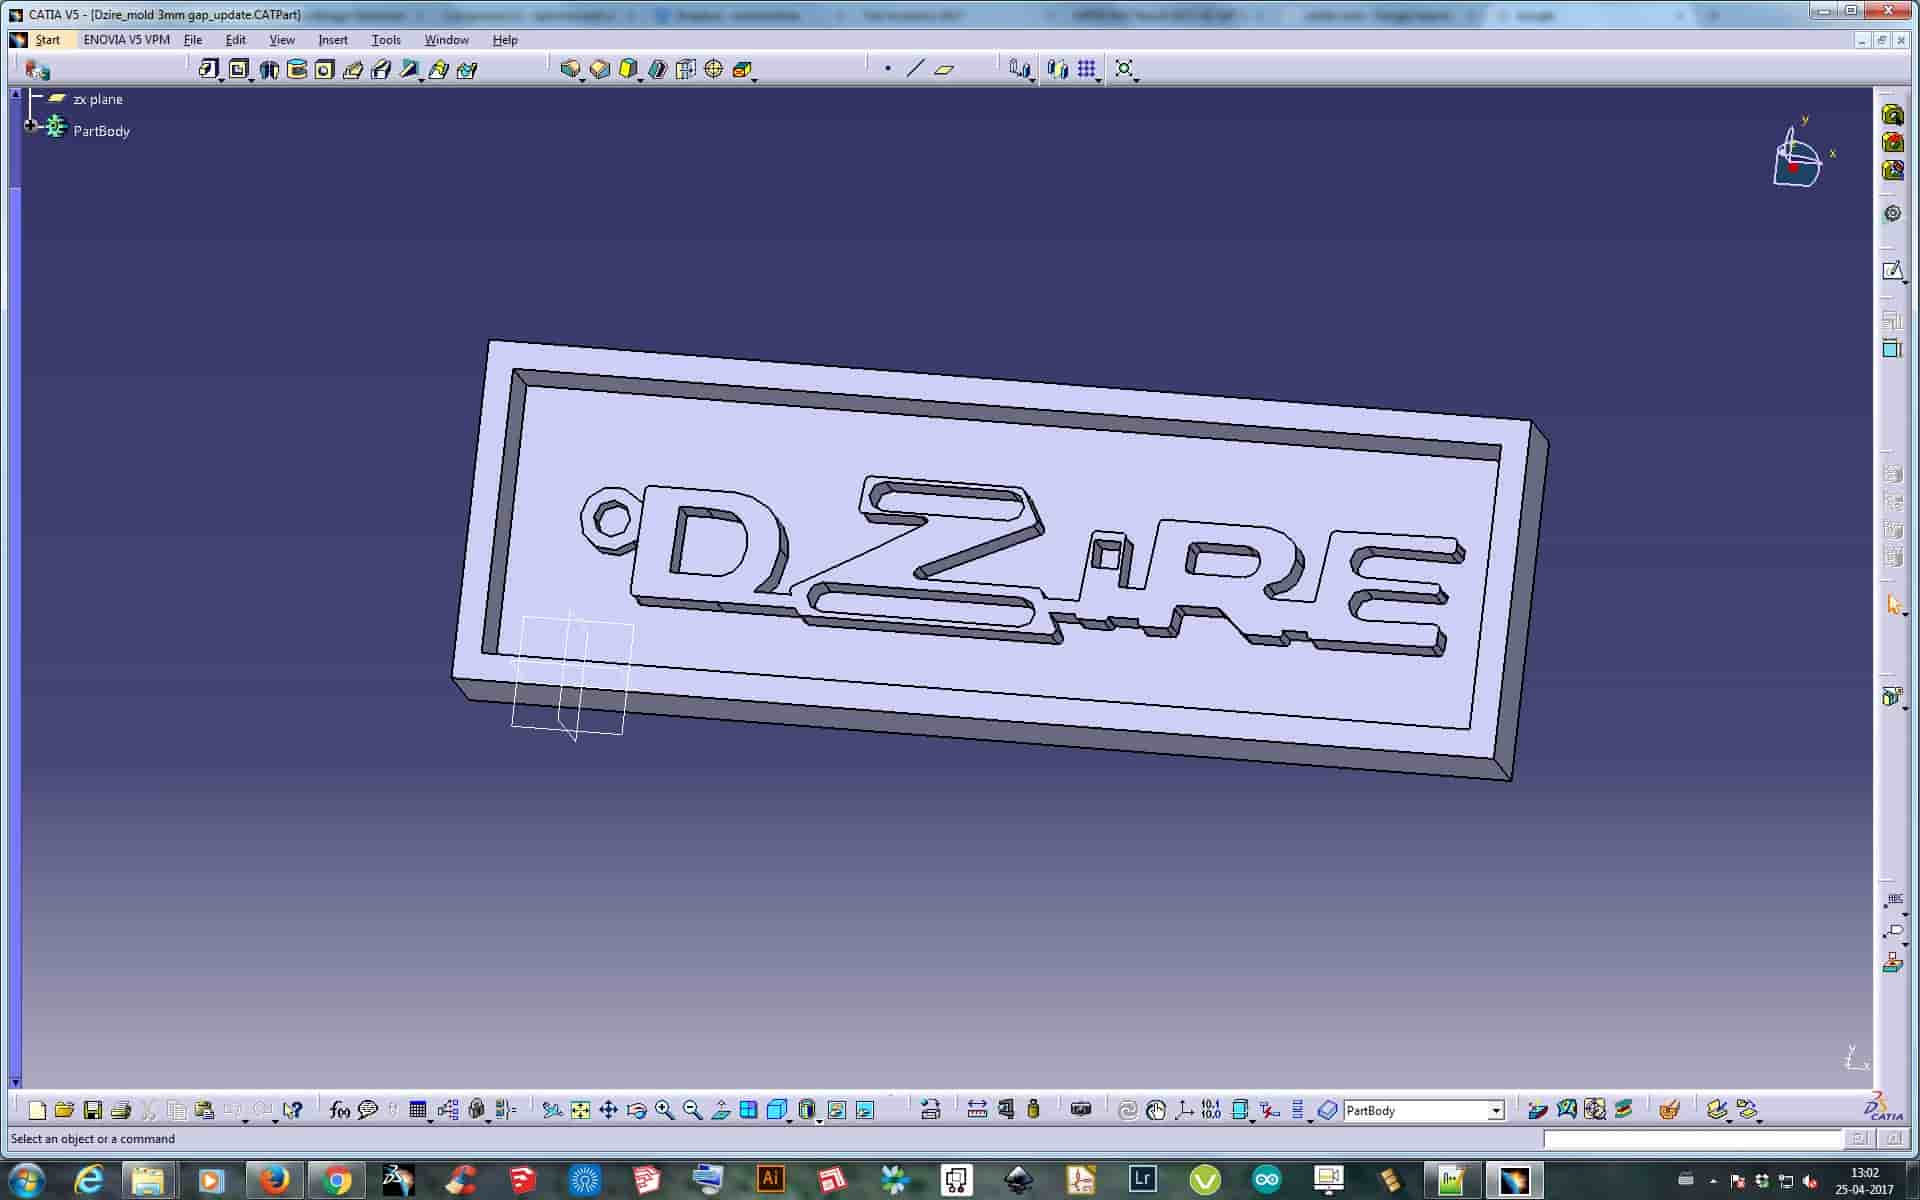
Designing
As I decided to make a metal Keychain of a car logo "Dzire". So first I began with Designing the Keychain in Catia. Designing Images can be found below,
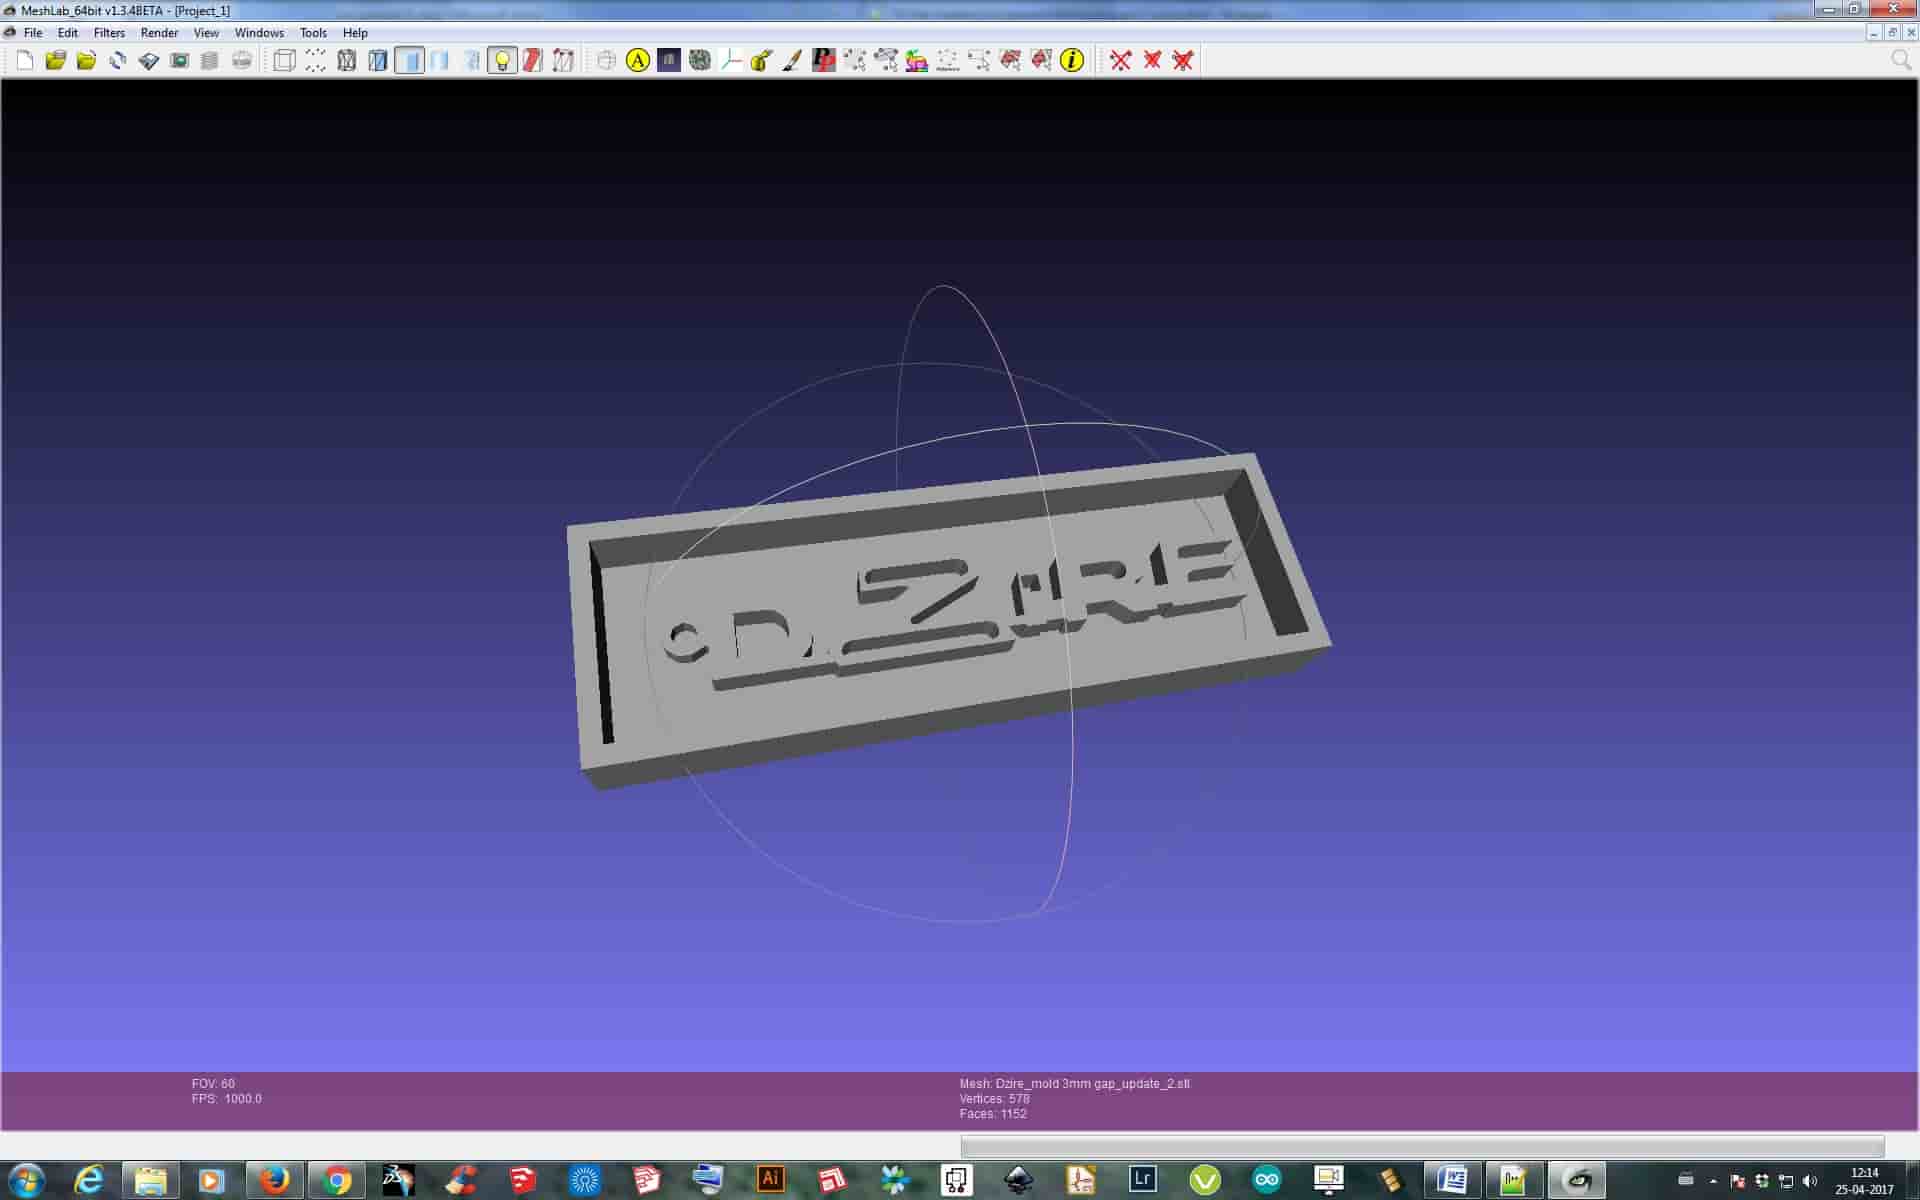
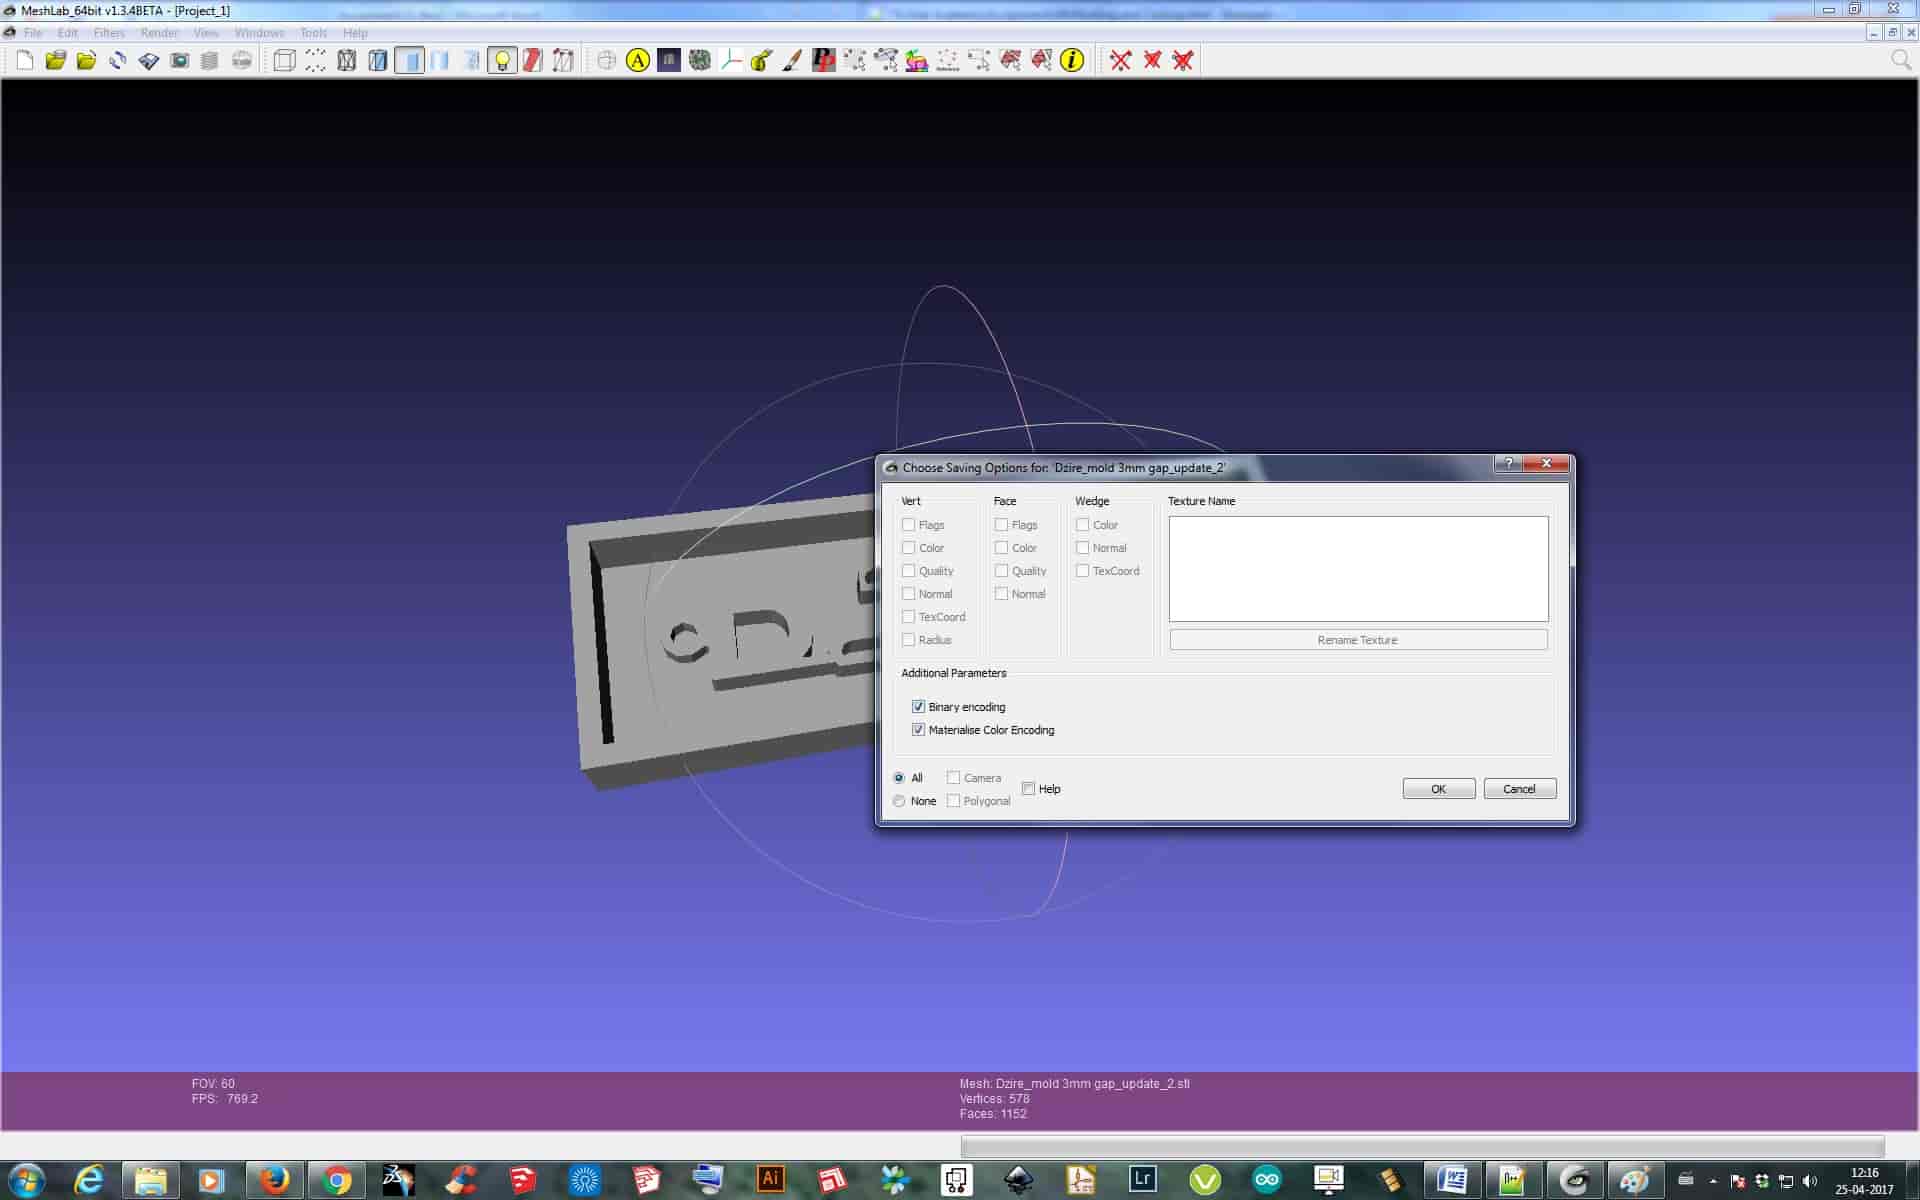
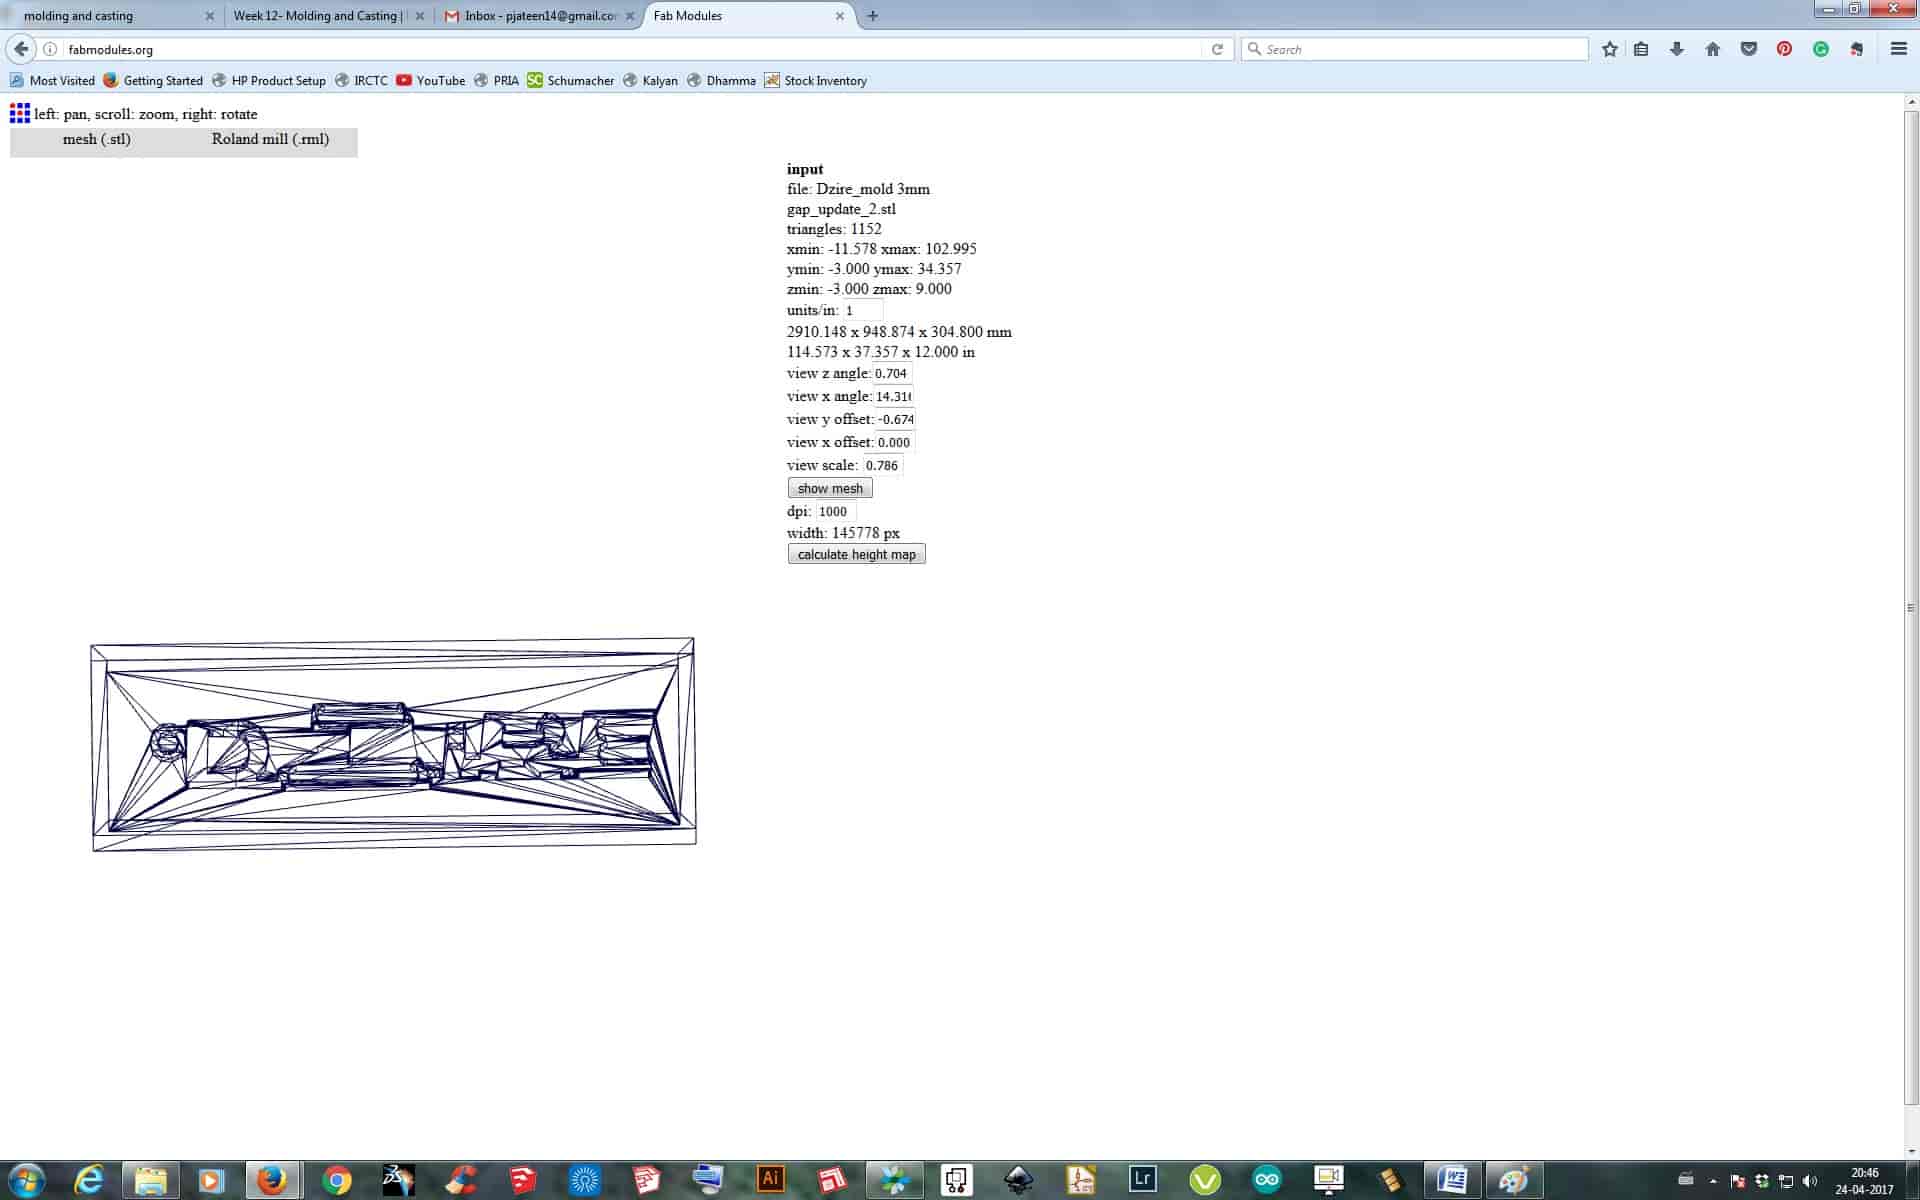
After designing, I was suppose to mill the Design on Modela, for milling the design file I converted the design to ".STL" format, which is used for milling or to make positive of the design to make a negative mold out of it. So then get shifted to the Fab Modules for milling the mold out.
As I first tried opening my Catia's .stl file on Fab Modules it wasn't getting opened and was showing the error that "Only Binary .STL can be processed" which means that Catia’s .STL files are not getting saved in Binary form, so, as a alternative I again Designed the same mold in Solidworks 2015 and saved the file to .STL format again and tried opening it in Offline Fab Modules but now this time the Offline Fab Modules was not even detecting the Solidworks .STL format, now after a lot of tries I asked for a solution to my Instructor and then he suggested me to use “MeshLab” software to Correct my .STL files from both the software and then use MeshLab for saving it to .STL format from that software, so I tried the same and was getting the perfect result no on Offline Fab Modules. So finally here my Designing and converting my Design file to .STL format completed, and now it’s was the Milling part on Modela.
Fab Modules:
I then began with Online Fab Modules, so first I went through the tutorials Tutorial 1 Tutorial 2 for Installation of the Online Fab Modules and began the installation but unfortunately it didn't get installed and I was not able to use the Online Fab Modules, basically it wasn't communicating with the Modela. The Error for Online Fab Modules is shown below:
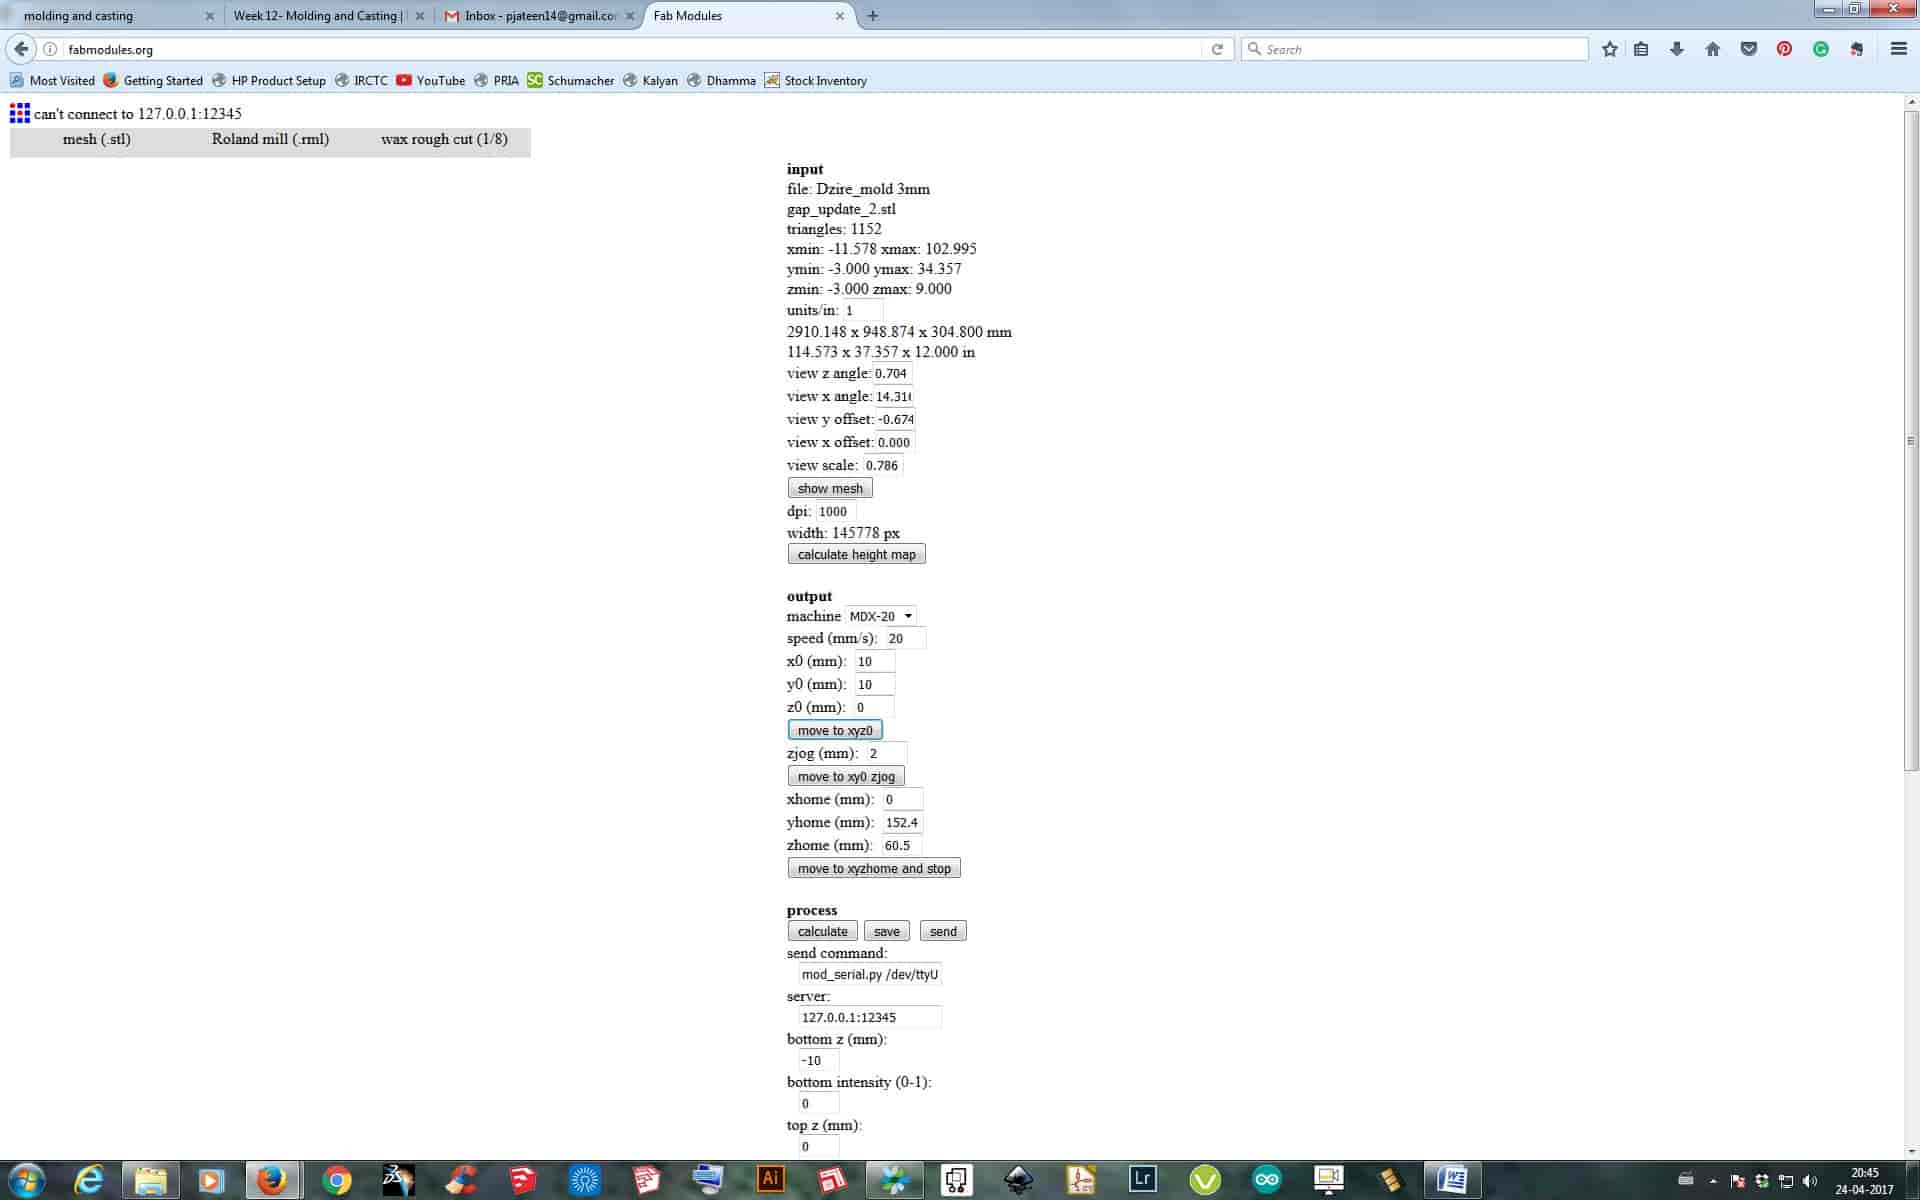
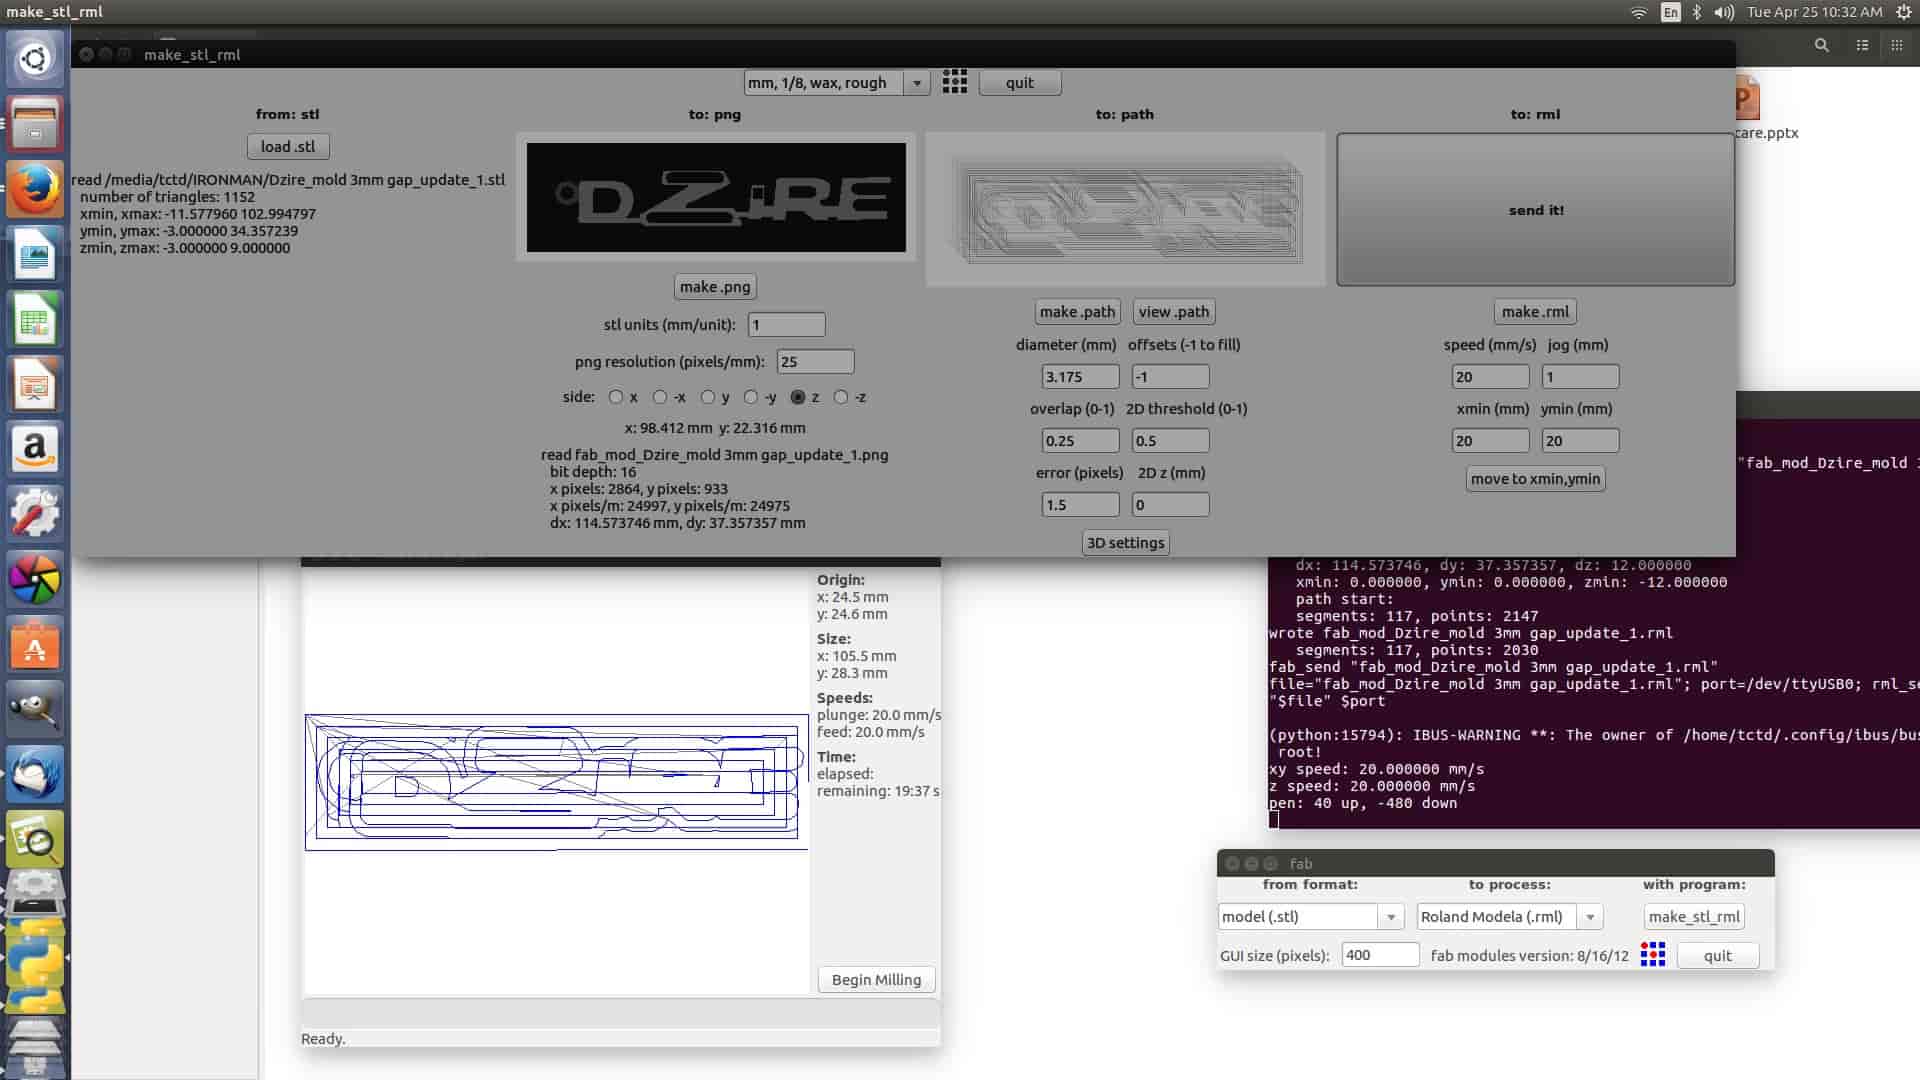
I then switched to the Offline Fab Modules which was installed in the Computer and started working with the same. I will be using End Mill of 1/8 for first rough cut of the file and then will be using Ball Mill of 1/8 for the Finish cut. As I started the Fab Modules I uploaded my ".STL" file in it by selecting ".STL" format in the Input Format, then in Output Format "Roland Mill (.rml)", then in Process selected Wax Rough Cut (1/8) and simply did the same process which is normally done for PCB milling also, "Load .stl - Make Path - Make .rml - Sent It" and finally then Begin Milling. Then did the same process for Finish Cut by just changing the Process to Wax Finish Cut (1/8).
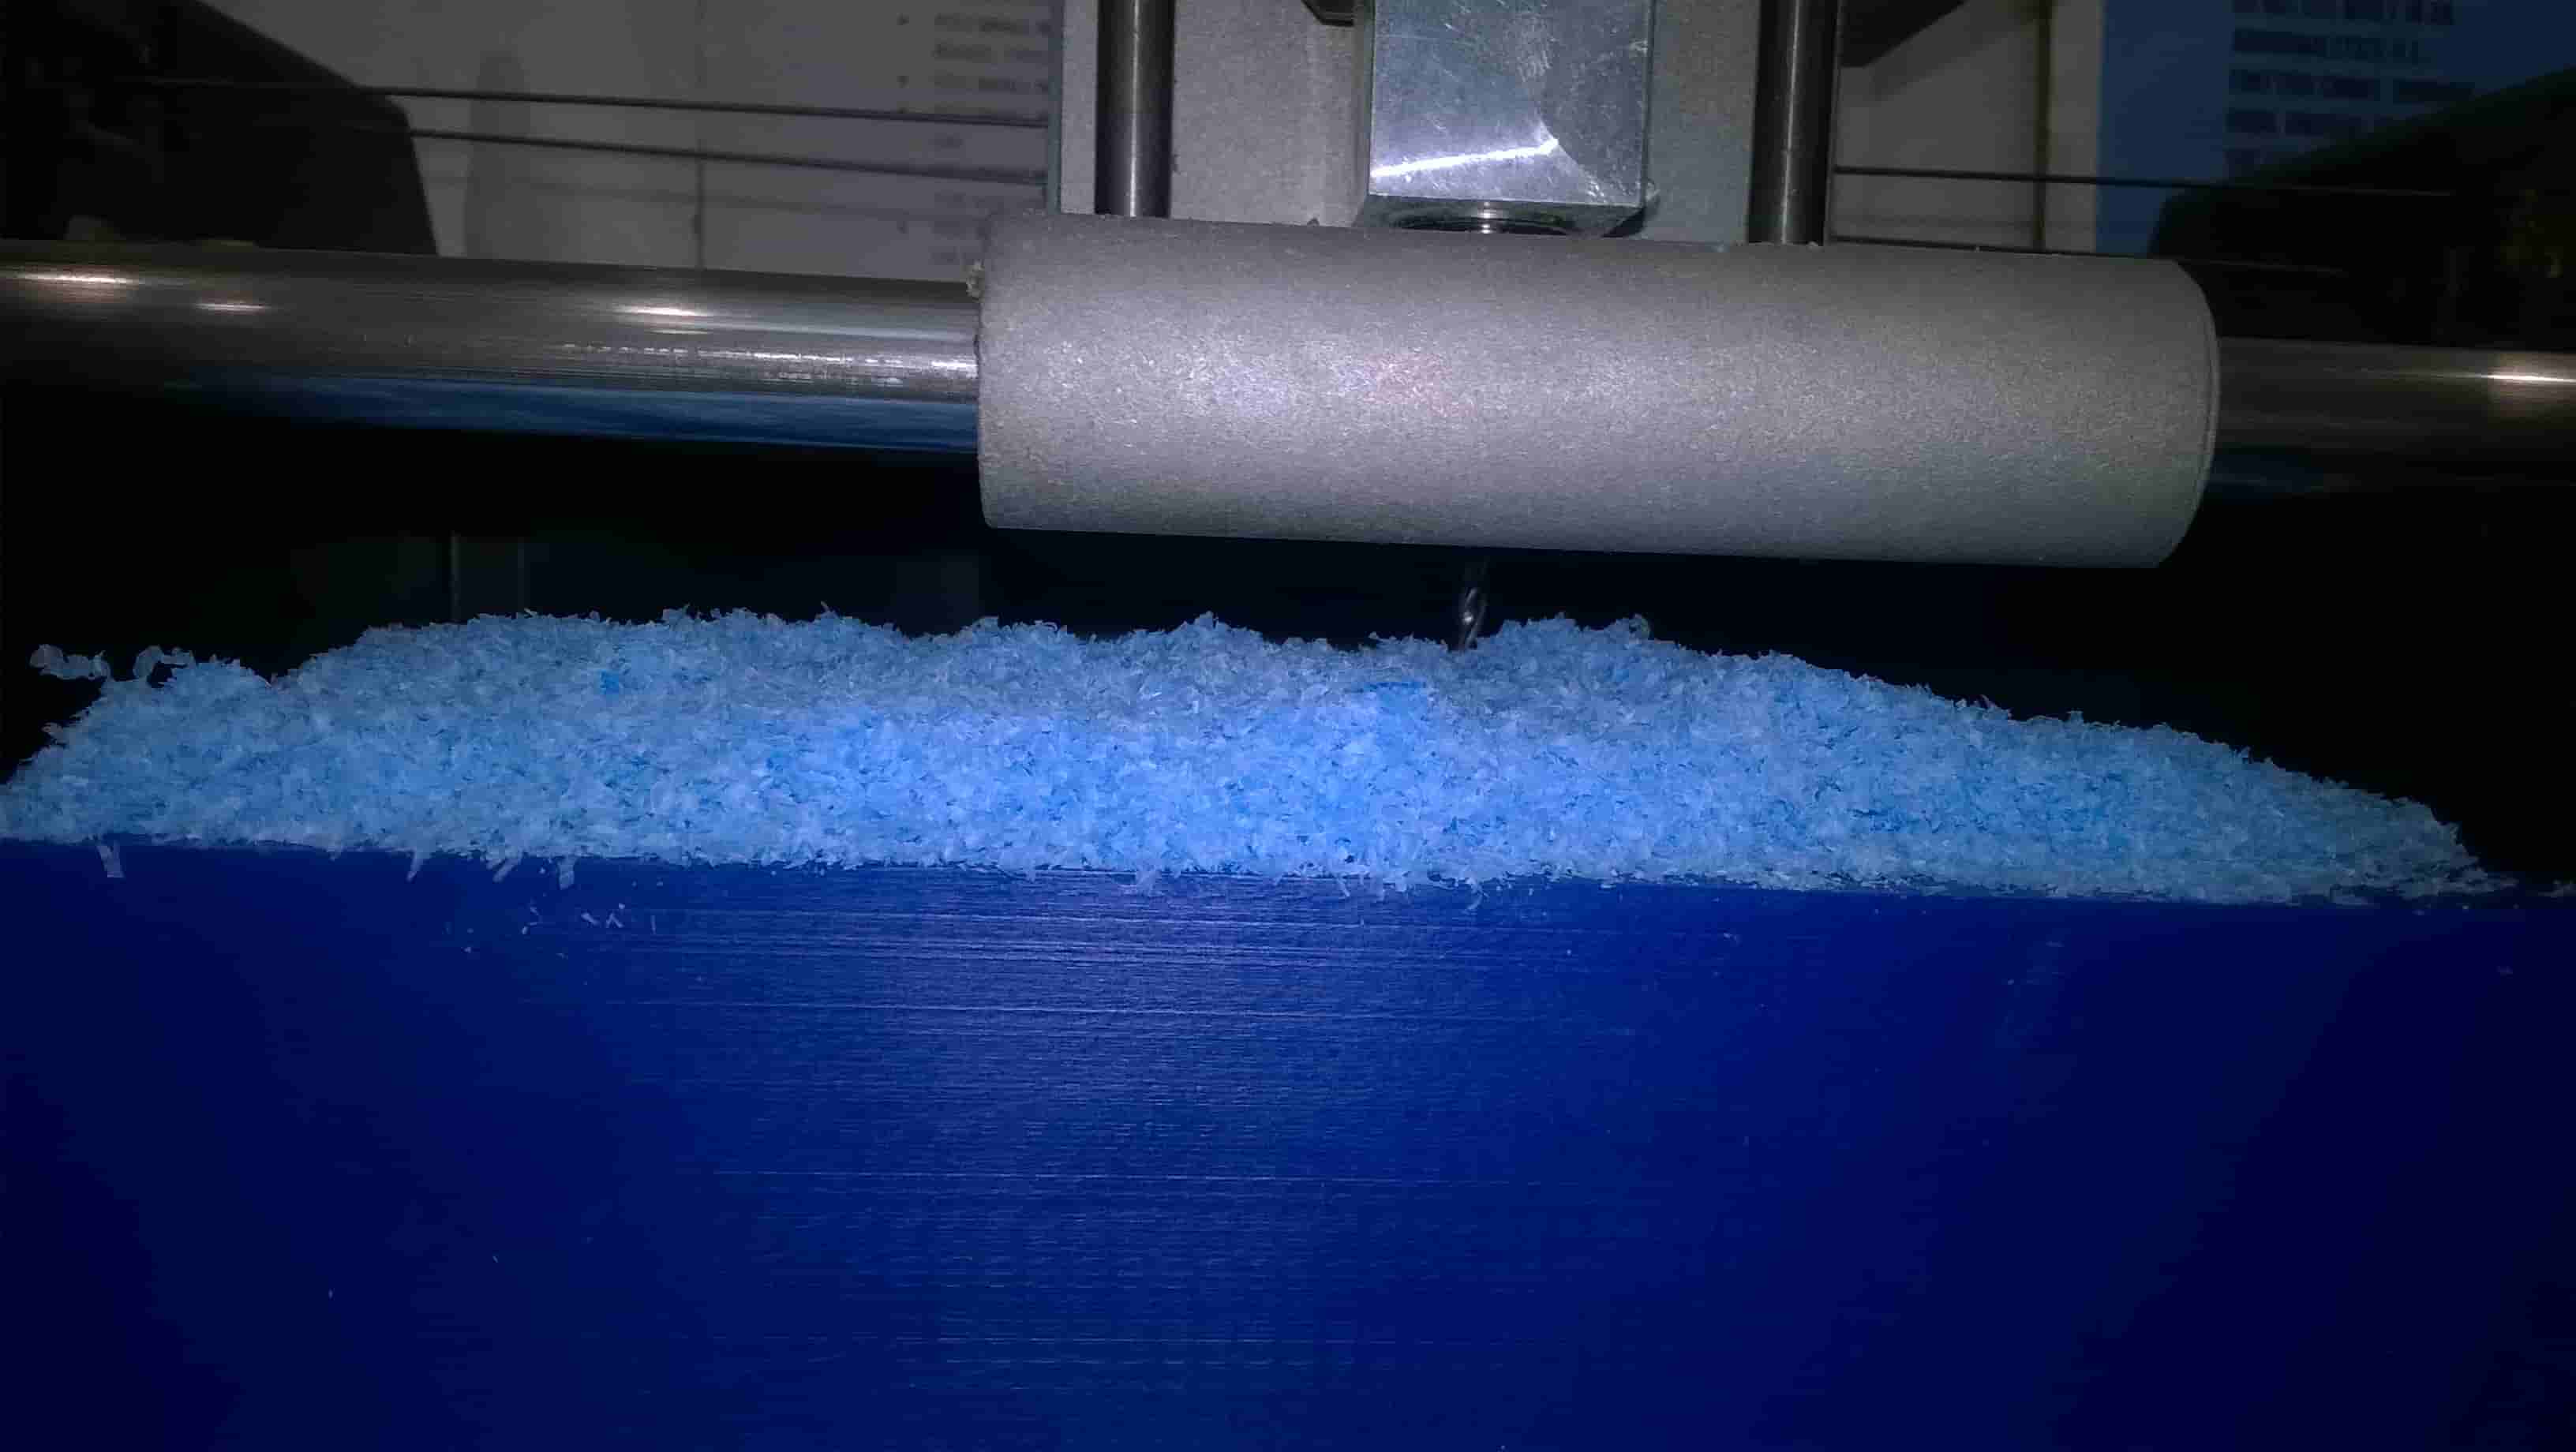
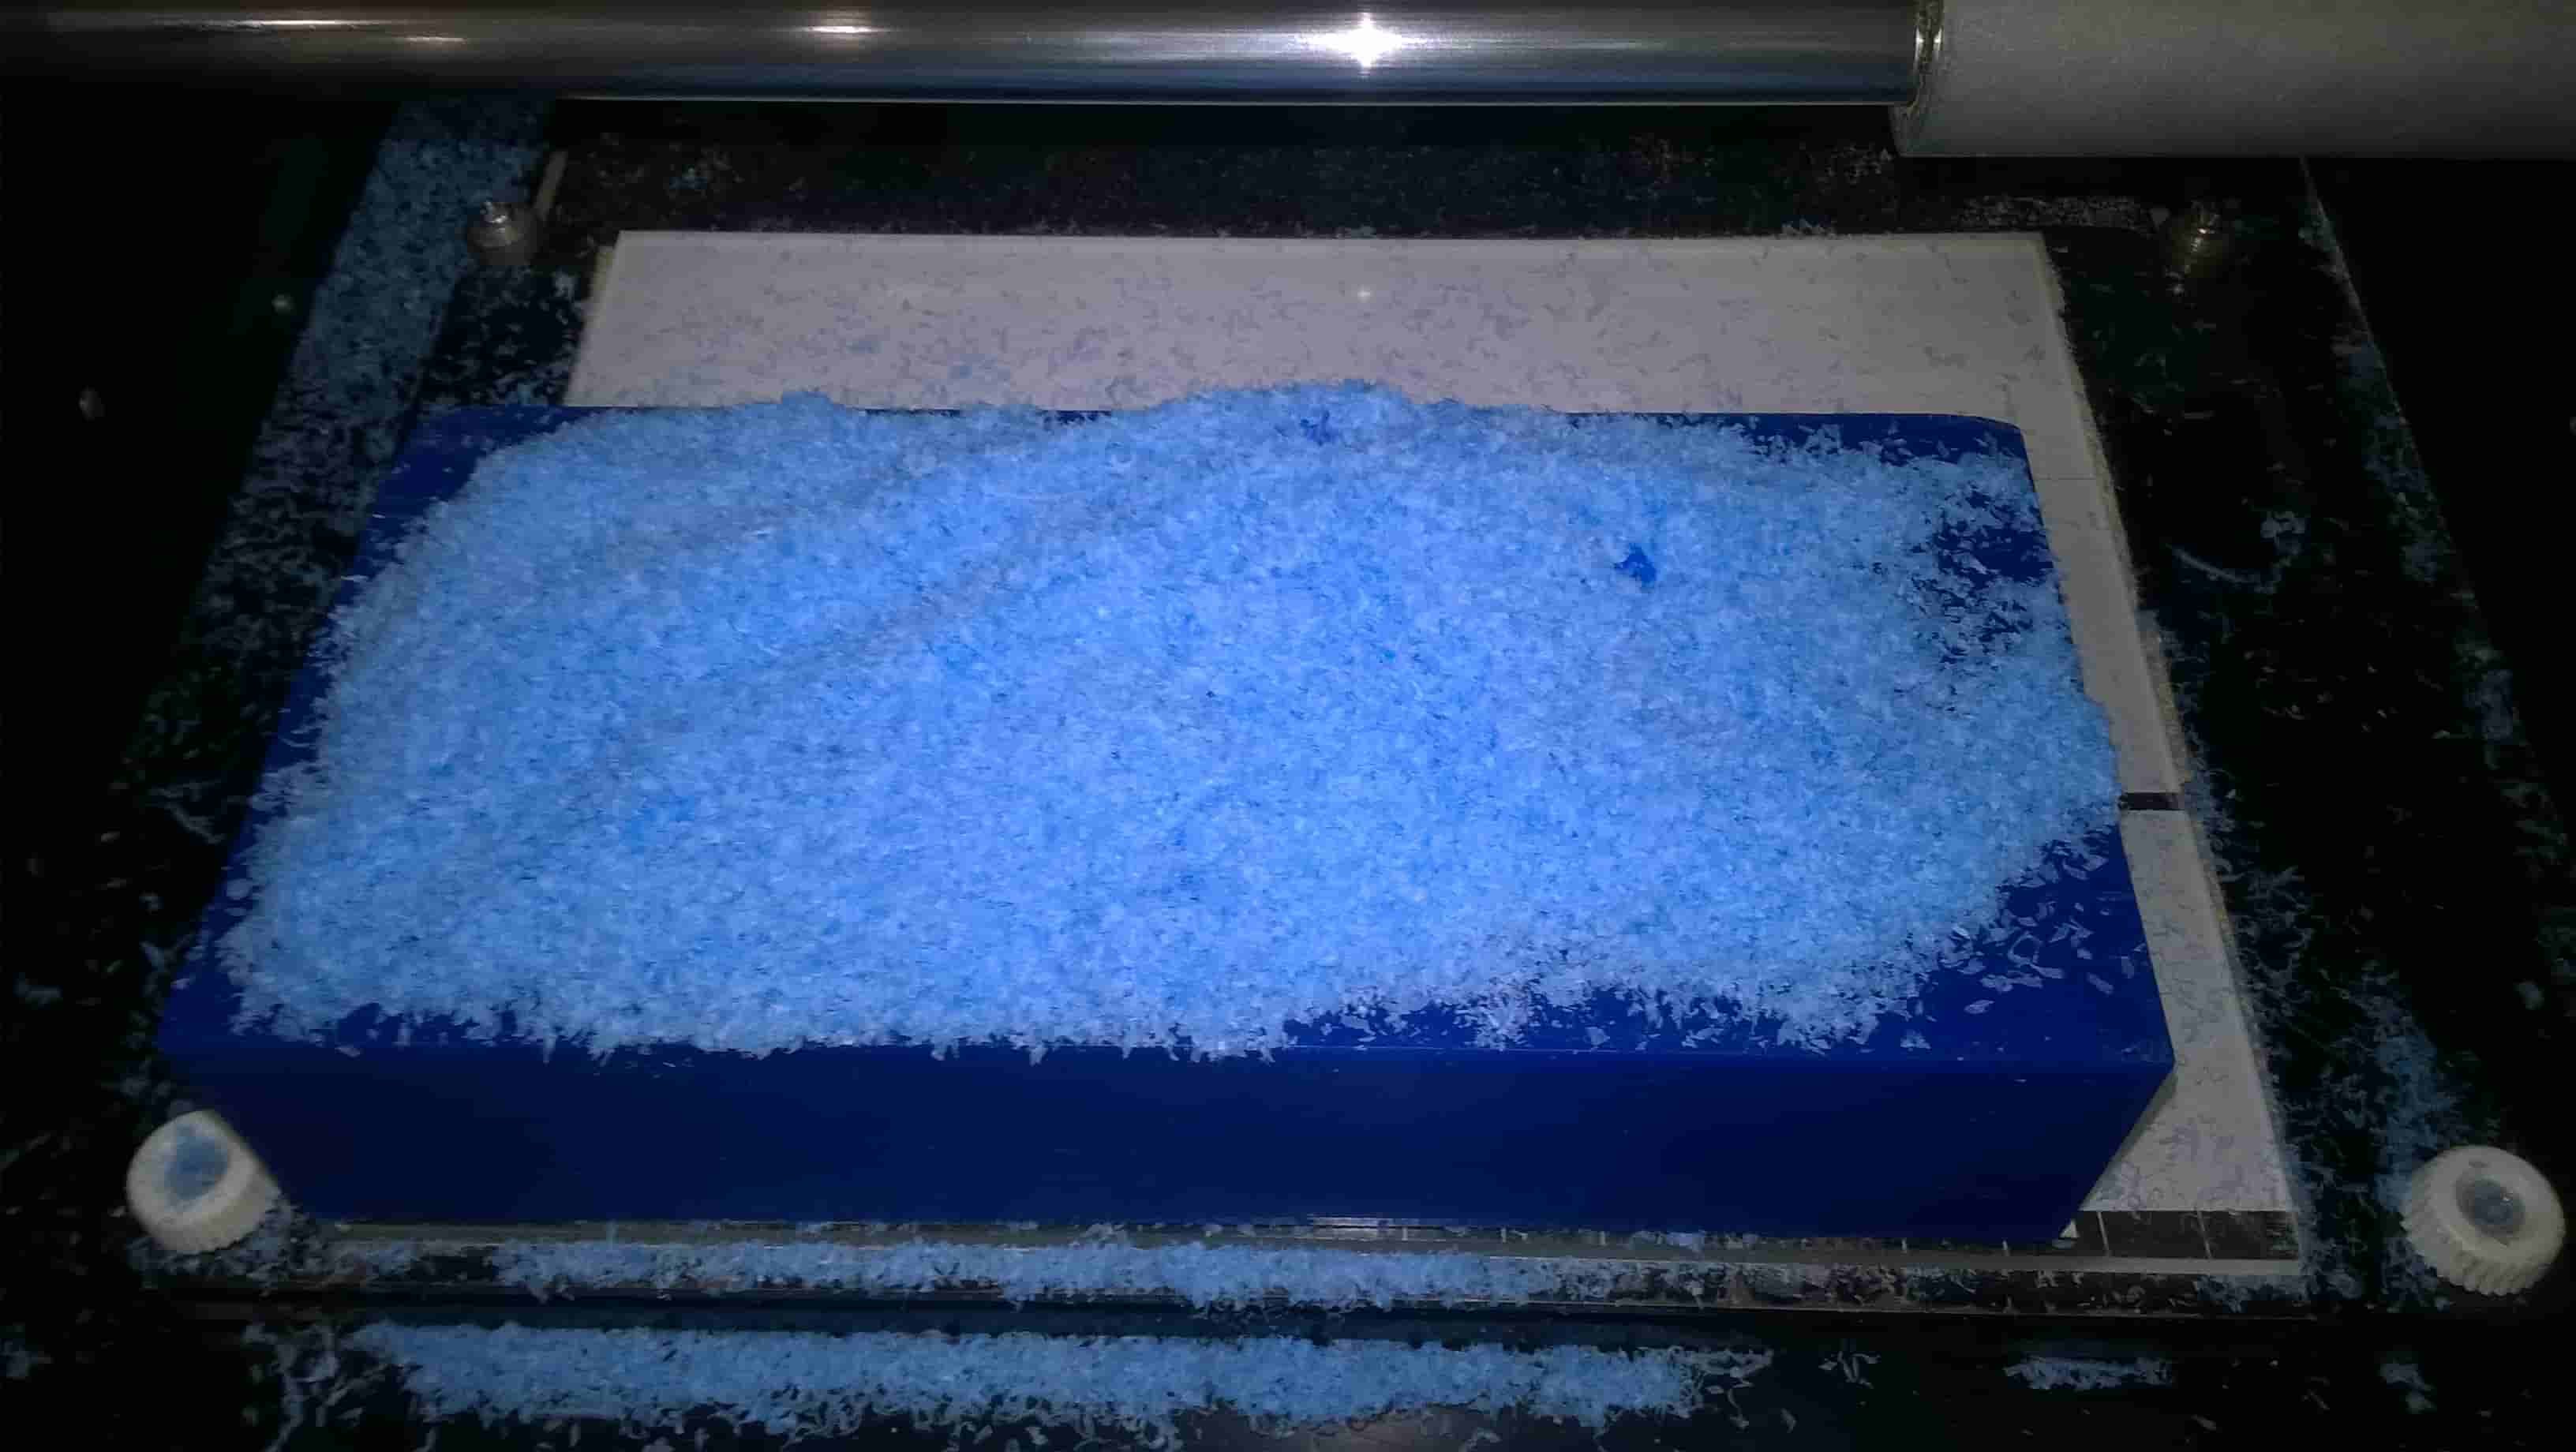
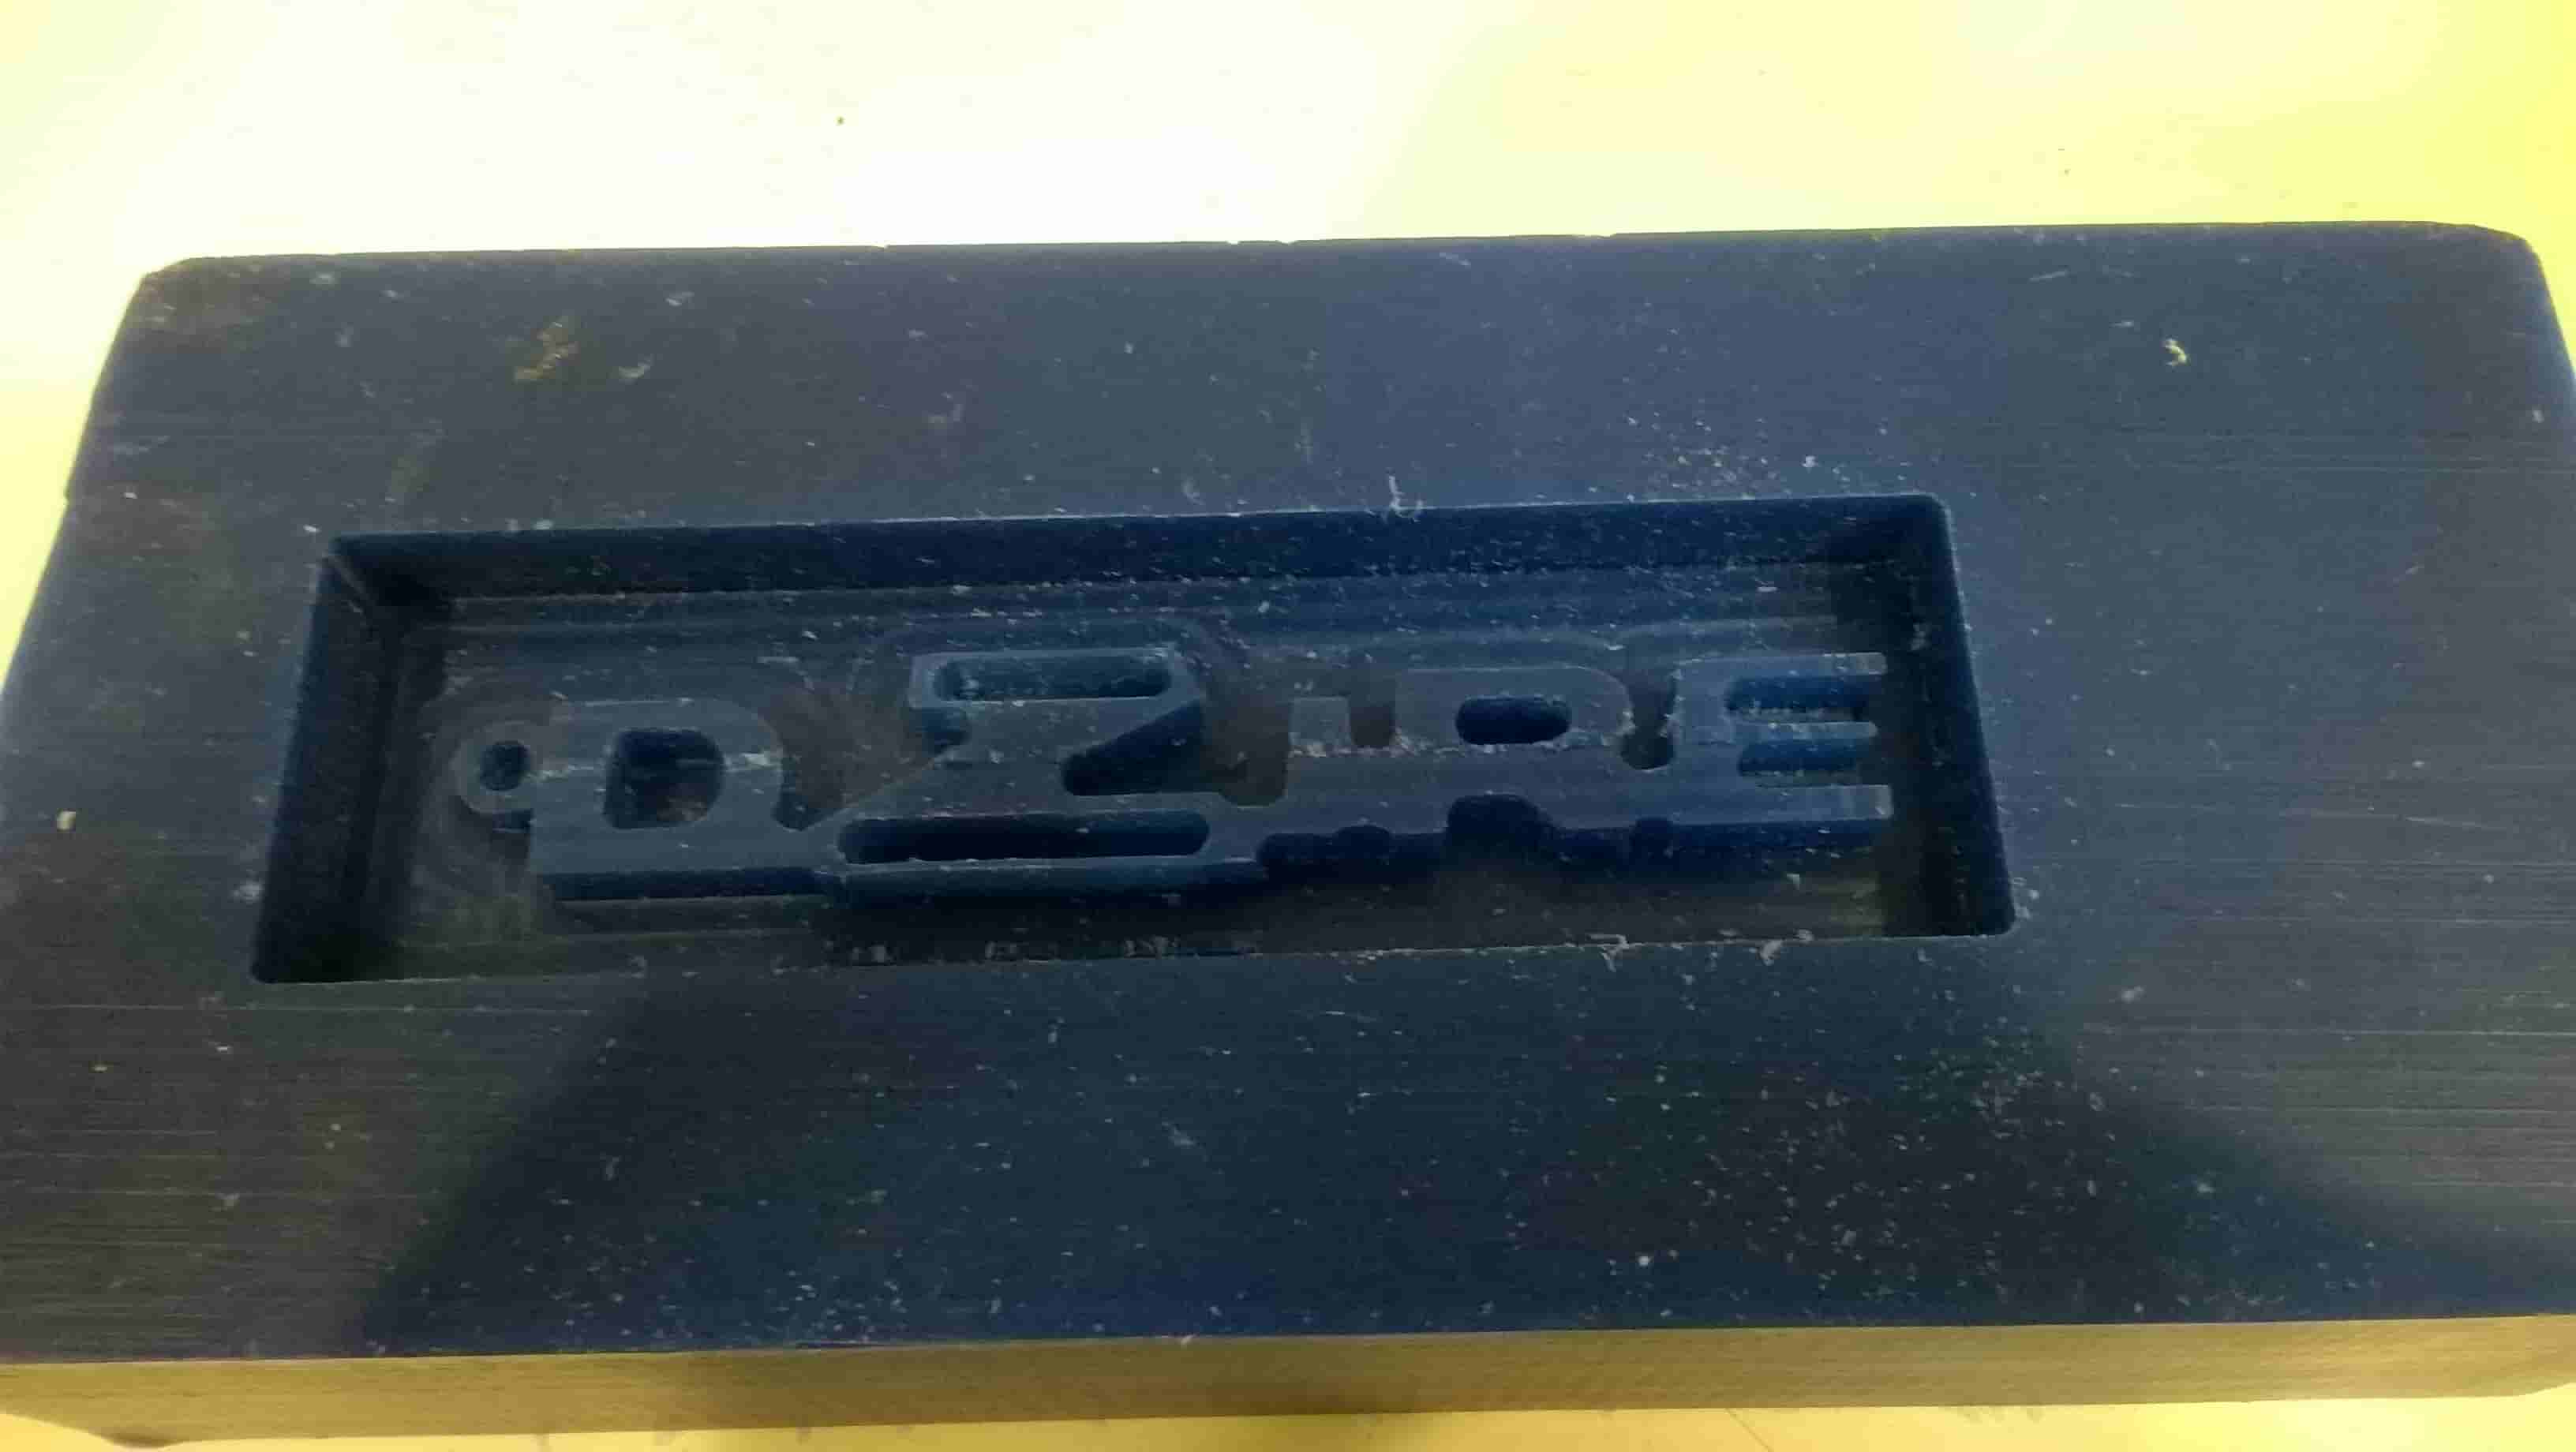
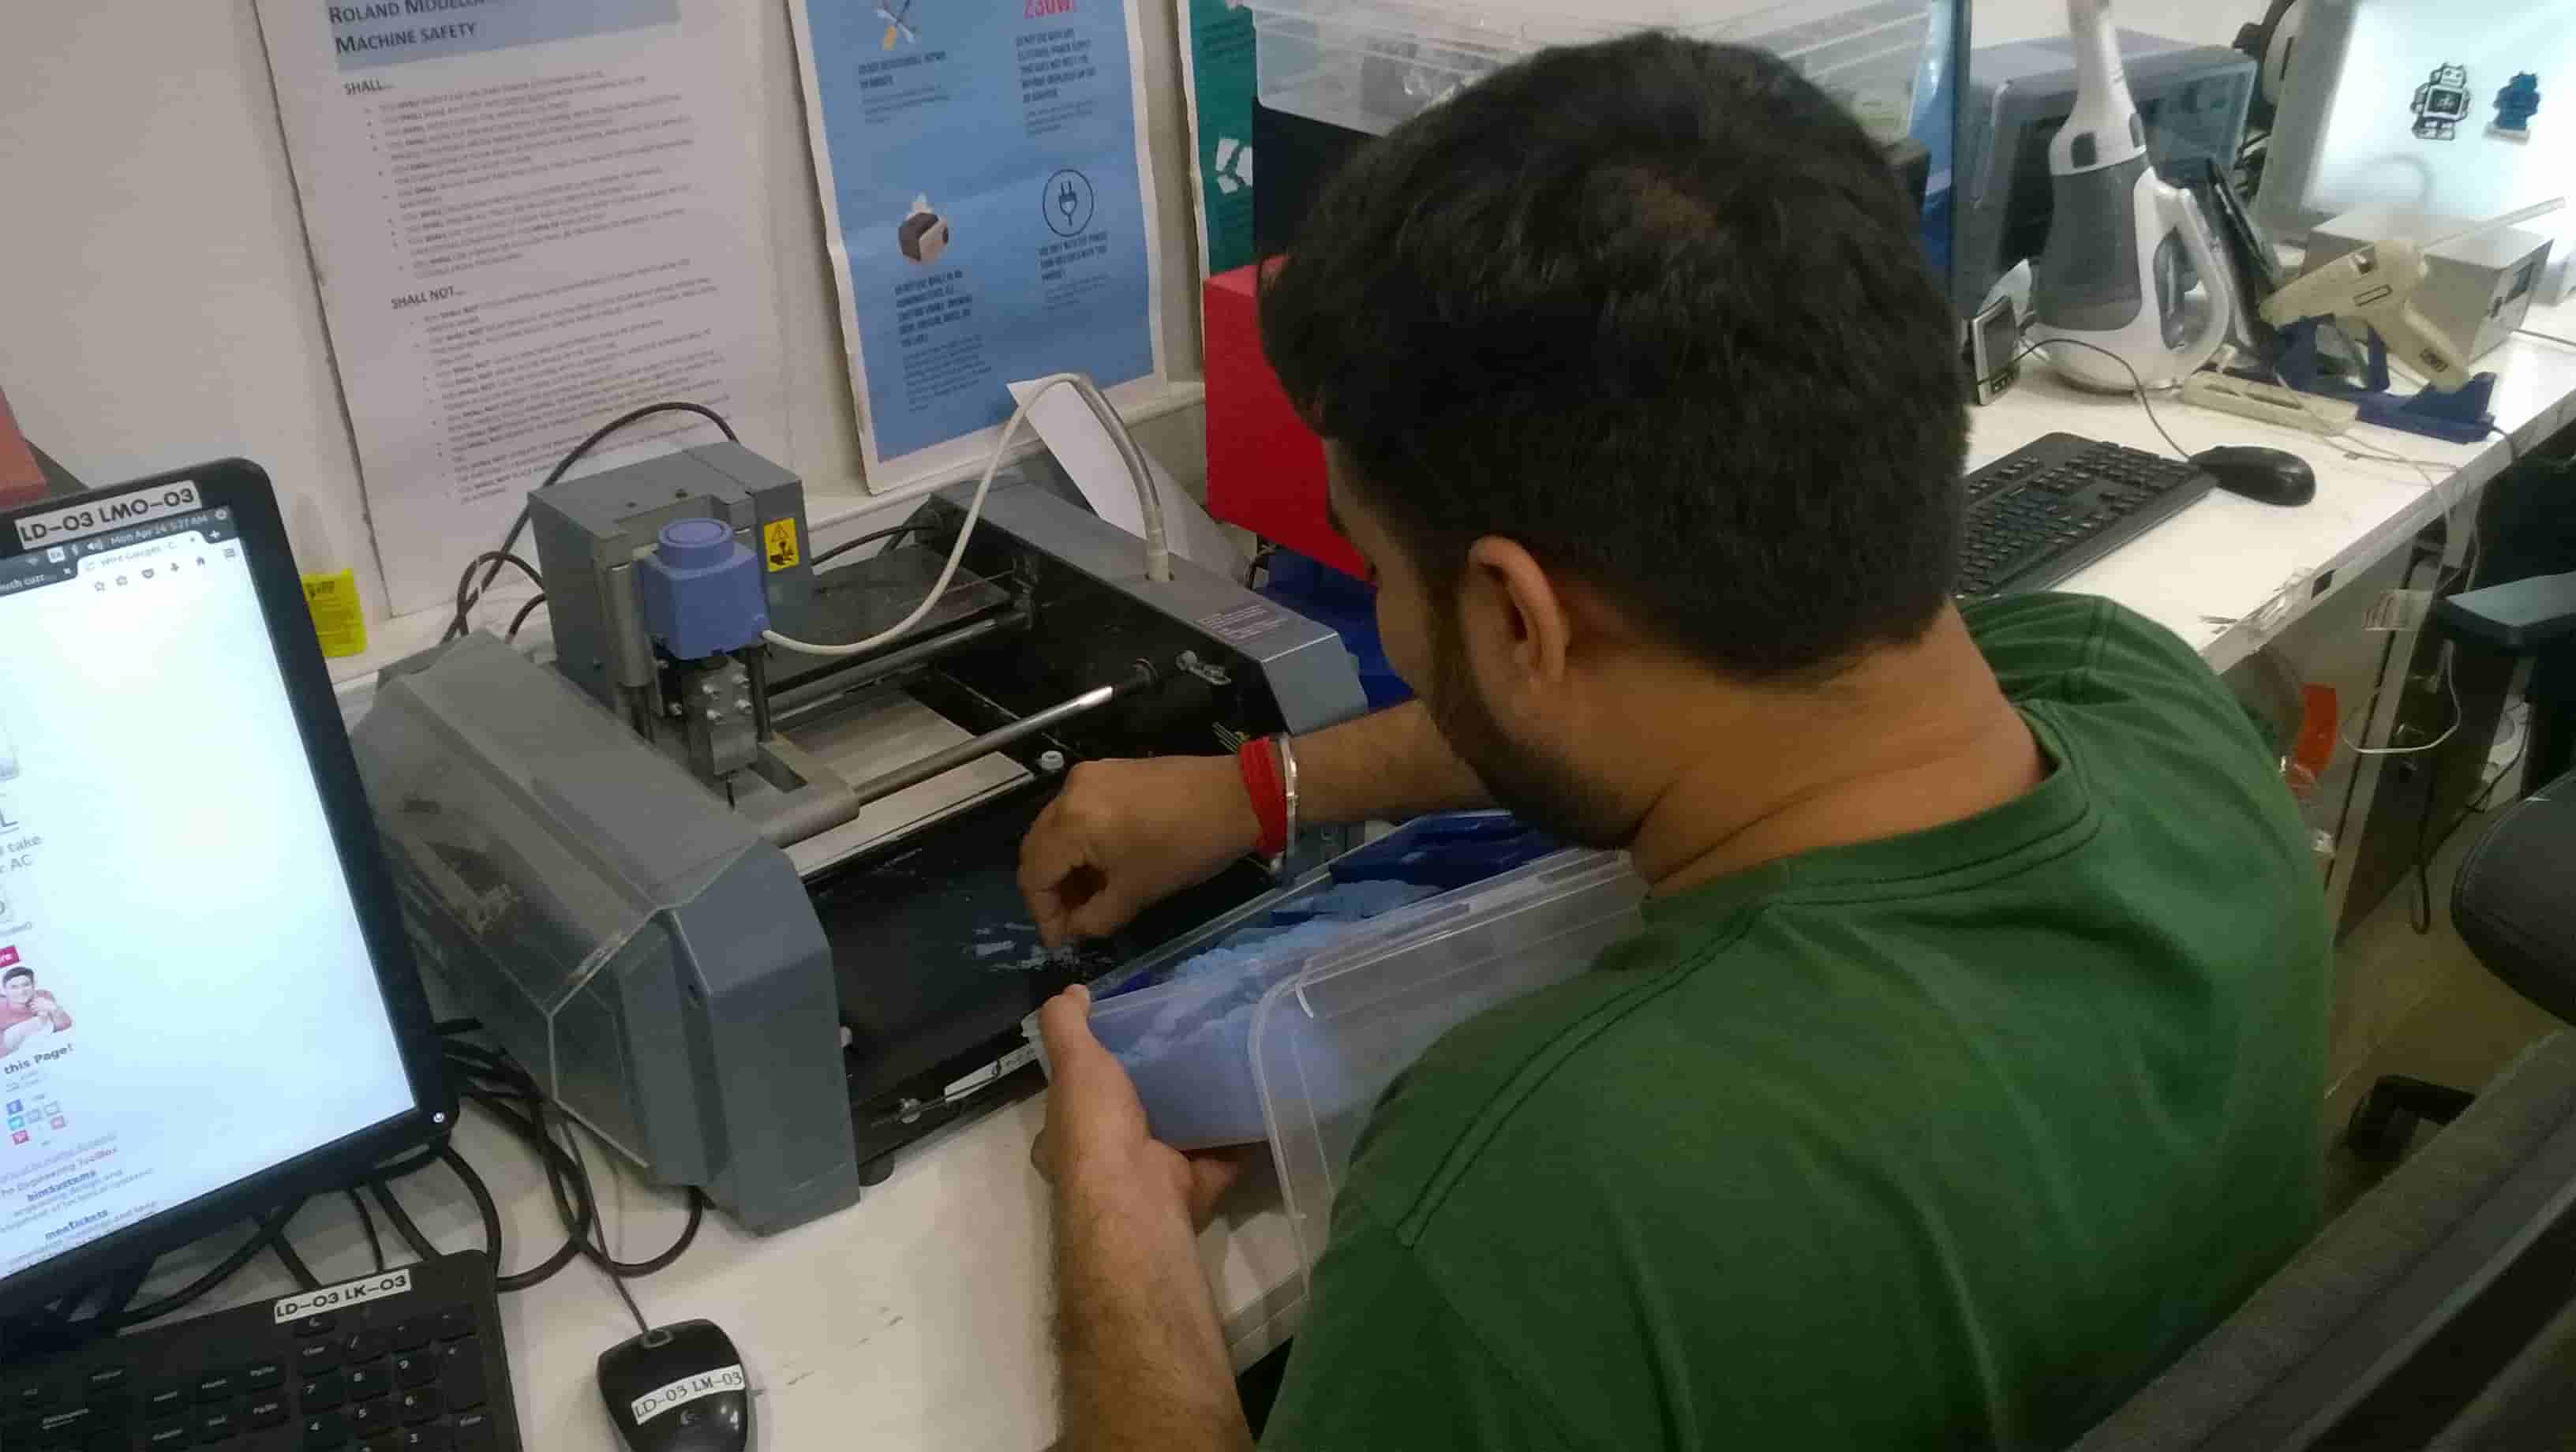
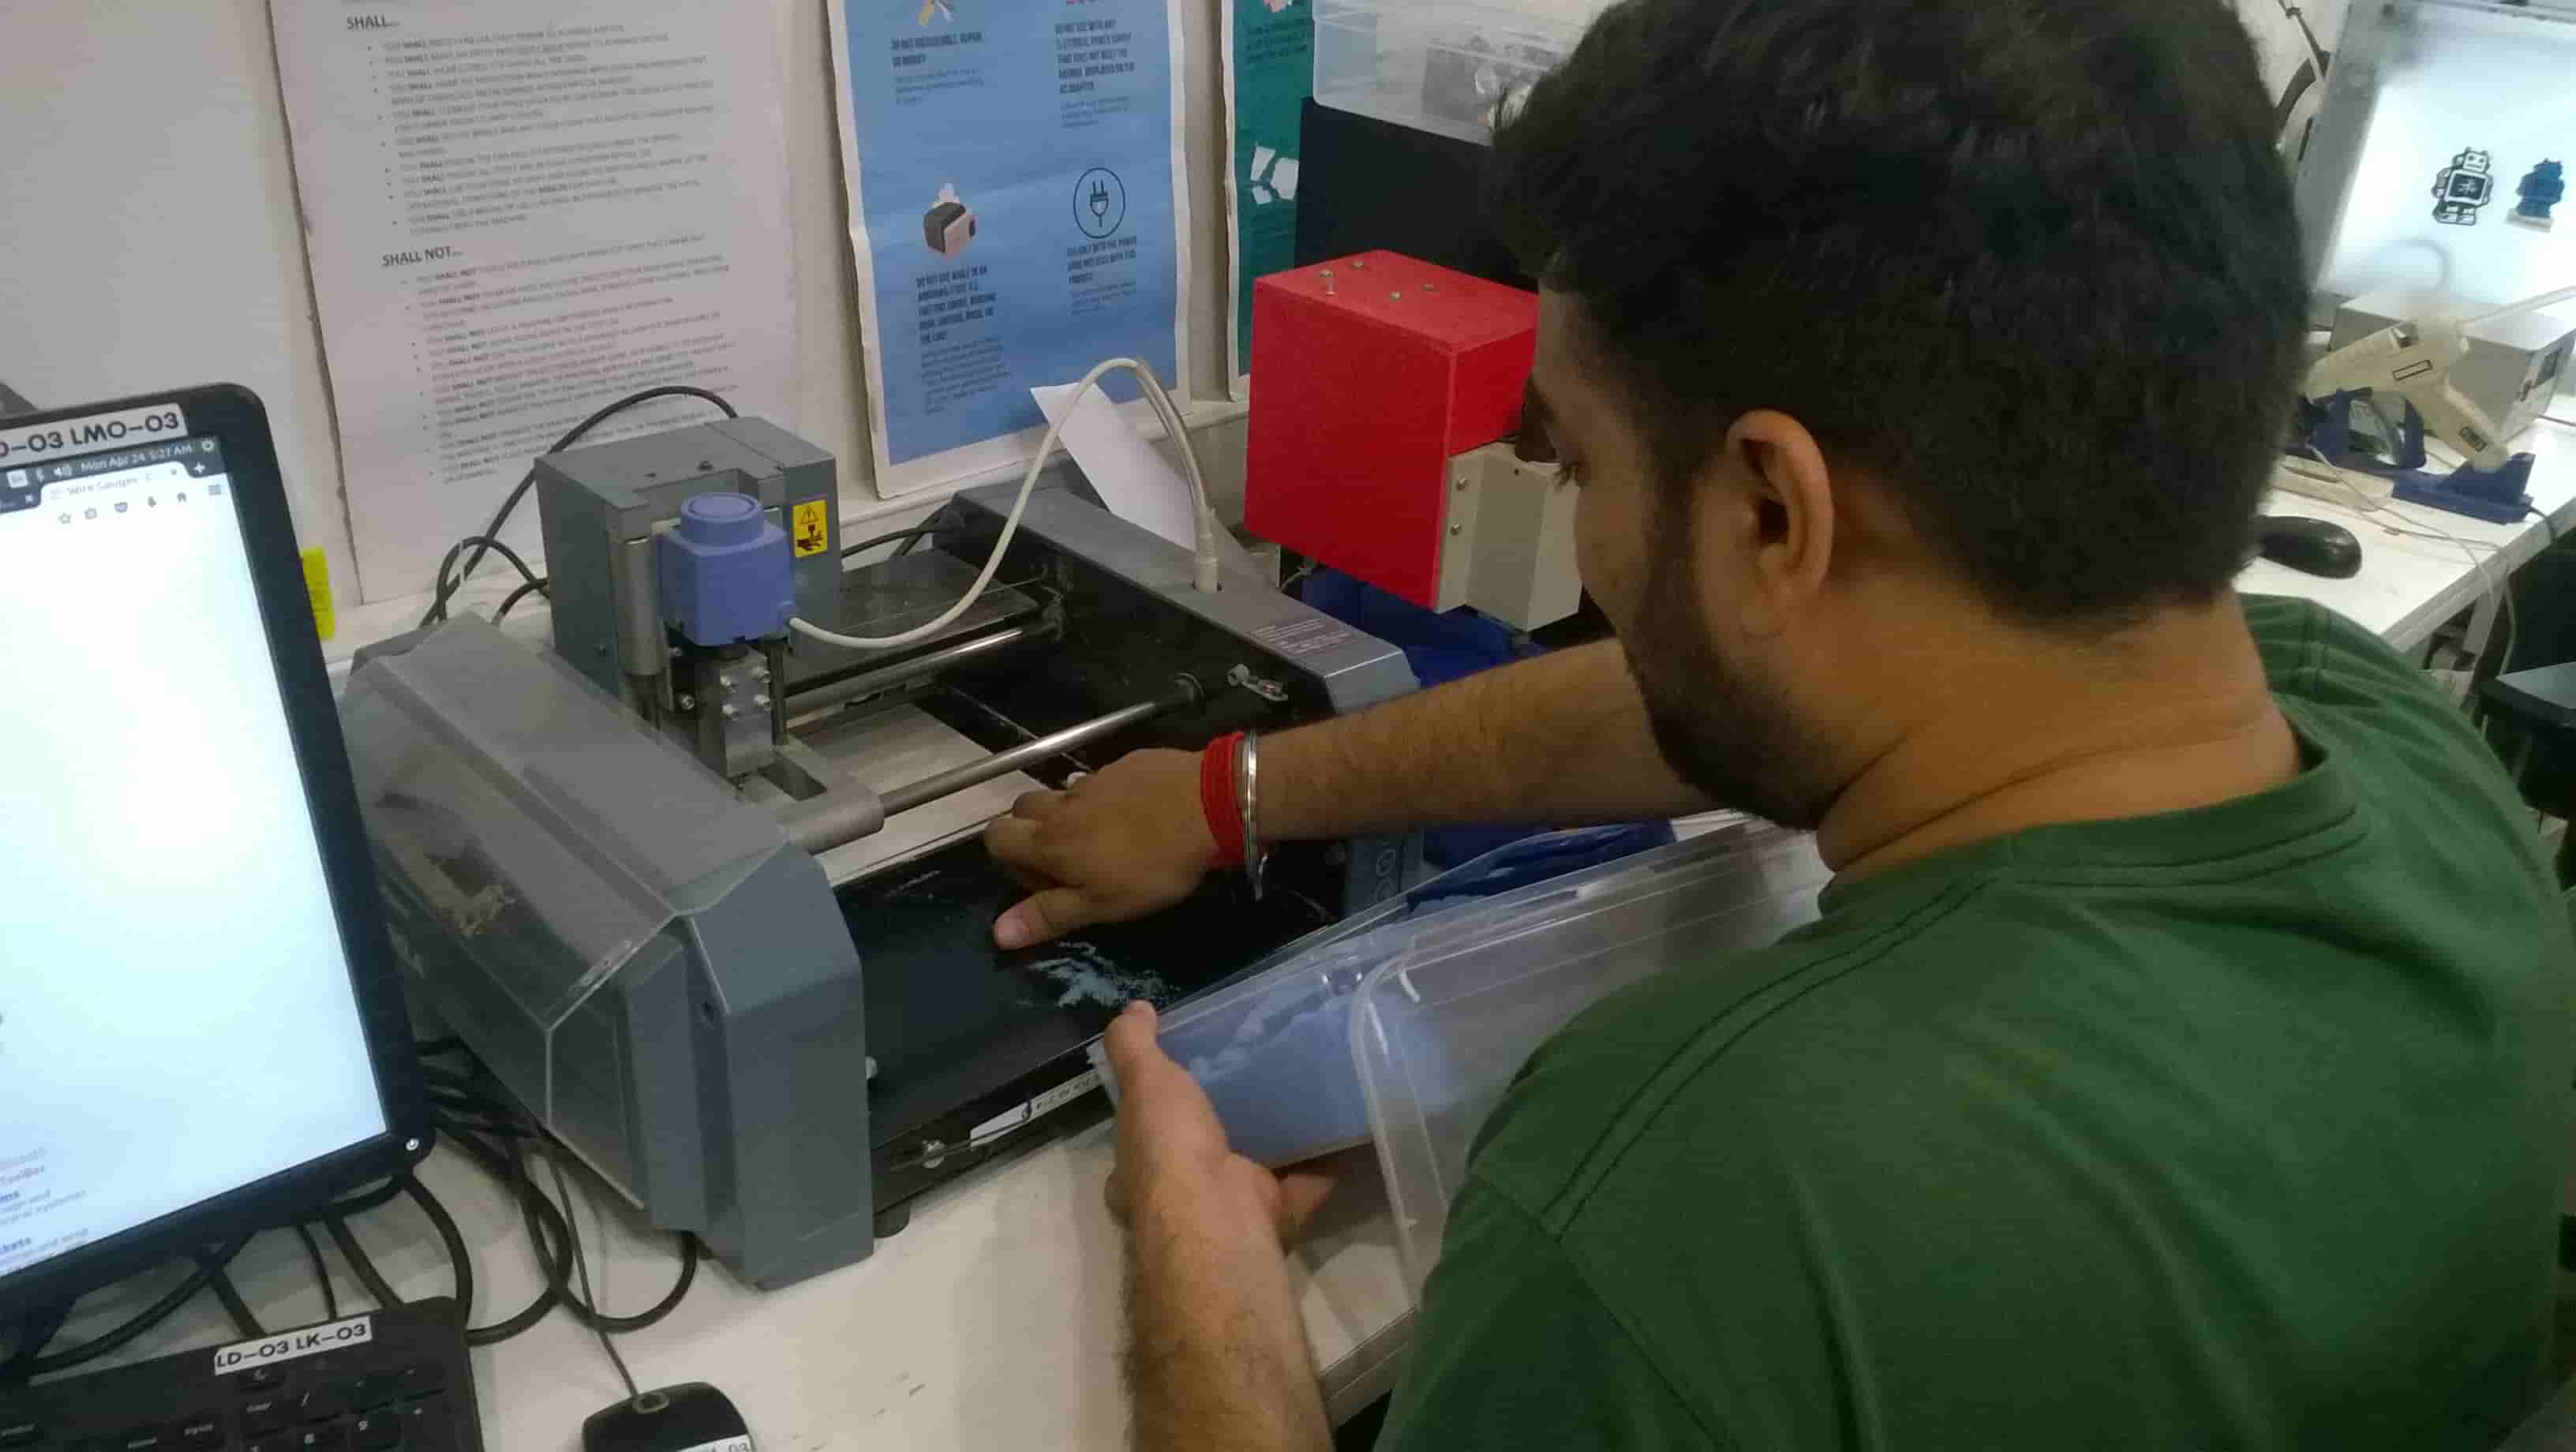
After milling the Wax, lots of milled waste was obtained so I first took it and stored it as it can be used later by melting and making anything out of it.
Molding:
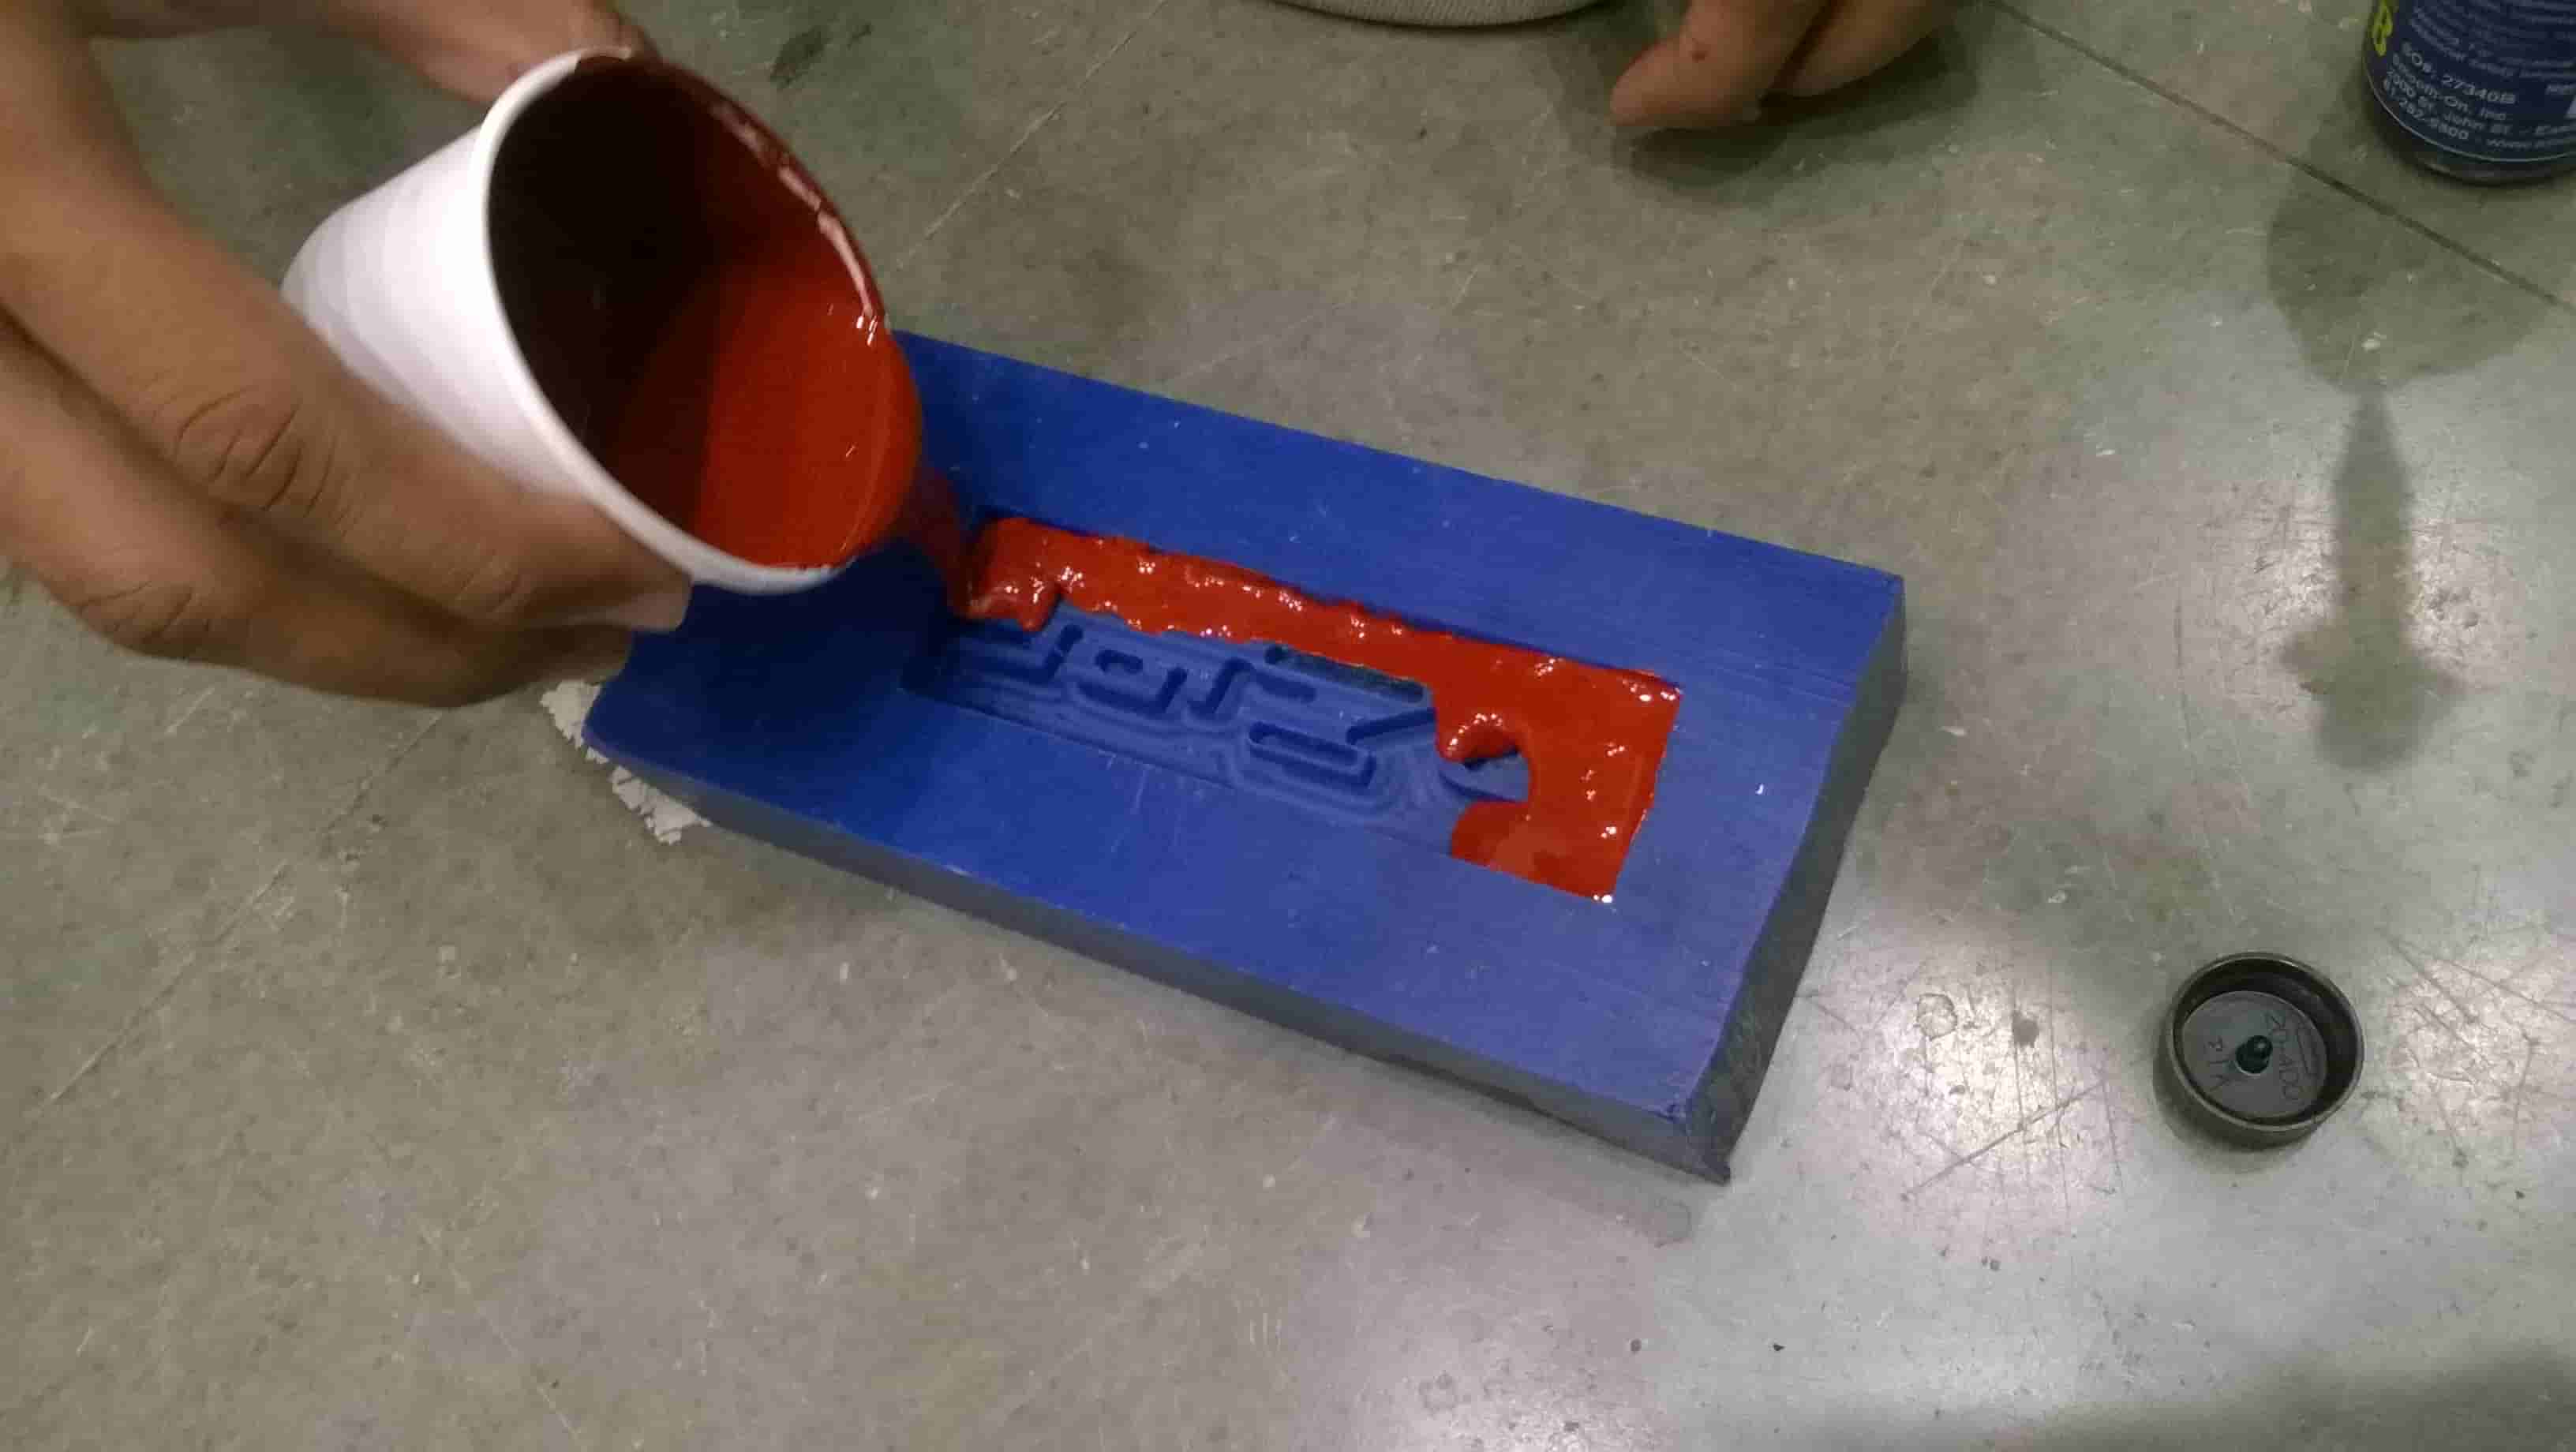
After the completion of milling on Modela now it was the turn to Mold it, pouring the silicon rubber inside the milled Wax mold. So as I mentioned before also as I am using metal to cast I would be using Heat Resistance Silicon material, so I chose Mold Max 60, I took Part A silicon as 50 gms and Part B hardener or binding agent as 1.5 gms. After mixing both in a disposable cup I stirred it well and looked that it should not make any unwanted bubble inside the cup, and then after stirring I poured it into the mold where I very carefully and slowly did it as it can create unwanted bubble while pouring

So as this takes almost 24 hours to Cure I left it for a Day and the next Morning I got it ready for Casting.
Casting:
Now finally after so much of wait and patience it is the most interesting and fun part of Casting. So now I took Solder wire and put it inside the Crucifer and kept Crucifer inside the Furnace for melting at 280 °C. I kept it inside for almost 5 minutes inside the furnance and it melted, and that to as it melted the flux and solder iron was seperated and because as both had different density too solder iron was at the bottom of the crucifer and flux was flotting over the solder iron.
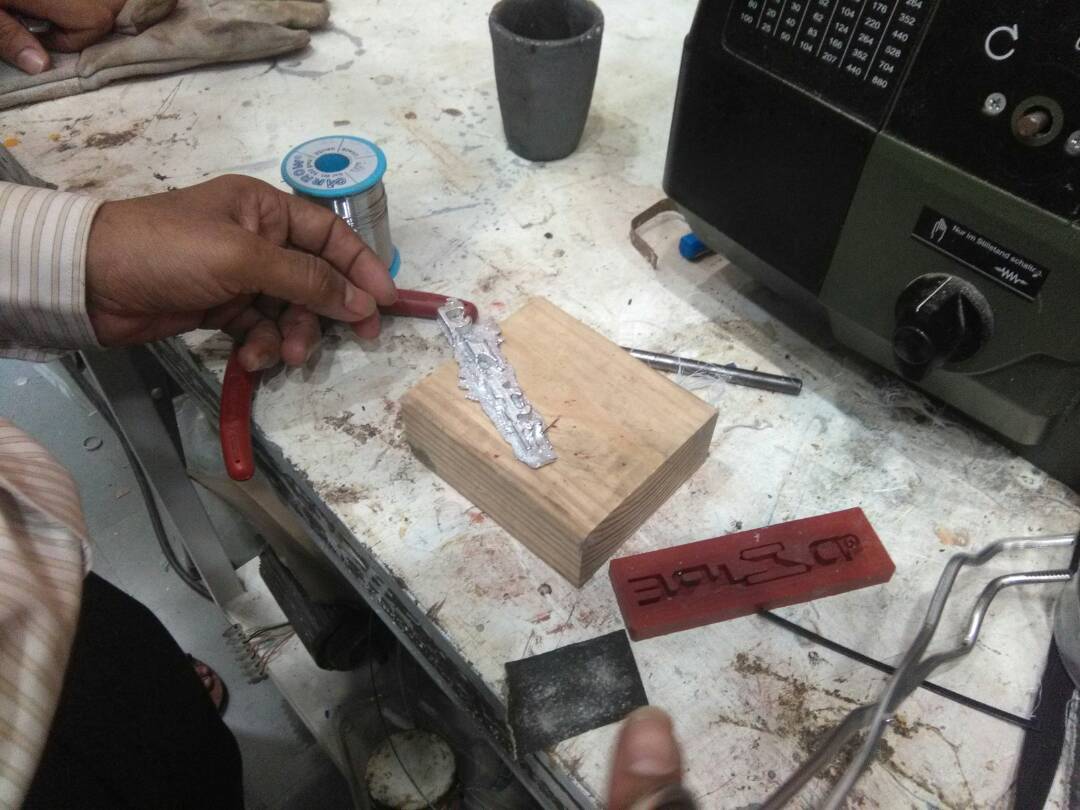
Later as I then poured the melted solder iron into my negative mold it got settled all over the big gaps and solidified, but as the mold was having small gaps also the melted solder iron didn't get flowed inside it and my first attempt was not so good. Then I tried doing it few more time with the same procedure but didn't got success, so I then placed the solder wire inside the samll gaps of my mold and then placed the solidified mold what I got from the previous attemptand placed it in the mold and now kept the Silicon Mold and the Solder material inside the silicon mold and kept it directly now inside the Furnance. Now the result was not perfect as per expectation but was definately better then my previous attempts.

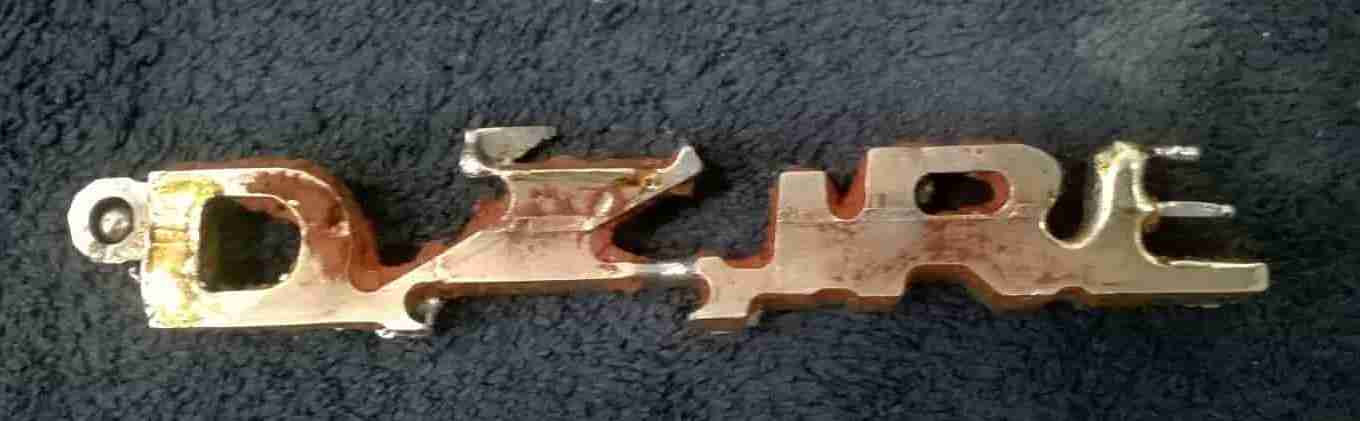
The above result was also not good but still it taught me a good lesson of how how to do Molding and Casting and I guess first attempt towards Metal casting and this even taught me Do's and Don'ts of Molding and Casting
Finally after so much of Fun Learning and a good result I was happy with all the process and outcomes. This week’s assignment taught a lot new ways to use things differently and properly. Plus this week’s assignment brought a new Enthusiasm in me about Molding and Casting. The Original files are available below for download.